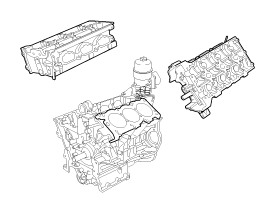
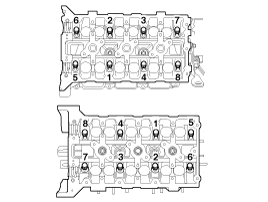
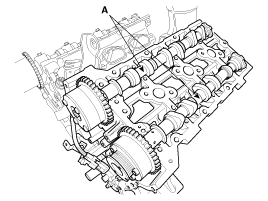
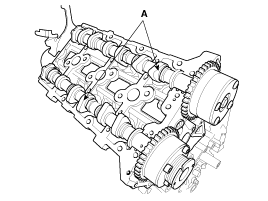
Install the cylinder head.
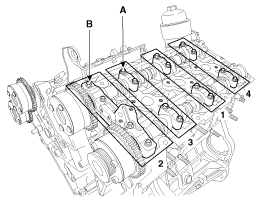
The sealant locations on cylinder head and cylinder block must be free of engine oil and ETC.
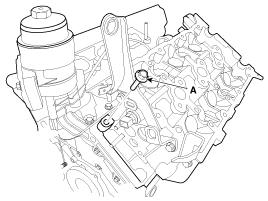
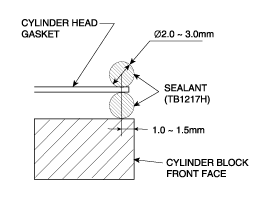
Apply sealant on cylinder block top face before assembling cylinder head gaskets.
The part must be assembled within 5 minutes after sealant was applied.
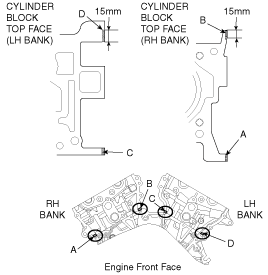
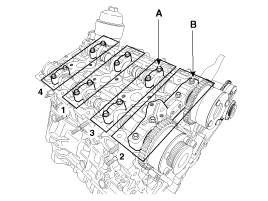
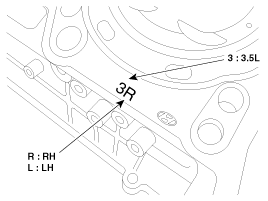
Refer to below illustration to apply the sealant.
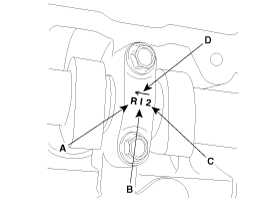
Bead width :
2.0~3.0 mm (0.078 ~ 0.118 in.)
Sealant locations :
1.0~1.5mm (0.039 ~ 0.059 in.) from block surface
Recommended sealant : Liquid sealant TB1217H
Apply sealant on cylinder head gaskets after assembling cylinder head gaskets on cylinder block.
The part must be assembled within 5 minutes after sealant was applied.
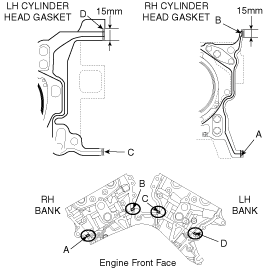
Be careful of the installation direction.
Install the cylinder head.
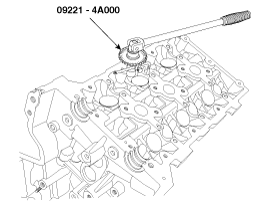
Remove the extruded sealant after assembling cylinder heads.