2.
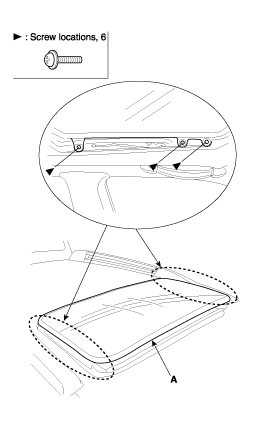
Remove both decoration covers (A).
Put on gloves to protect your hands.
Close the glass fully and slide the sunshade all the way back.
Remove both decoration covers (A).
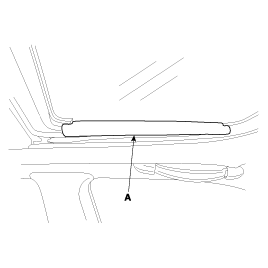
Remove the glass (A) by lifting it up.
Do not damage the roof panel.
Installation is the reverse of removal, and adjust the glass height alignment. Check for water leaks.
Do not use high-pressure water.
Remove the over head console (See page BD- 71).
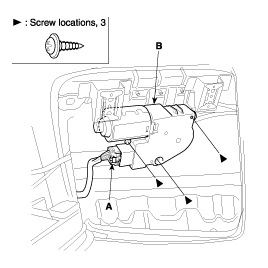
Disconnect the motor connector (A), remove the screws and then remove the motor (B).
Installation is the reverse of removal.
Open the glass fully.
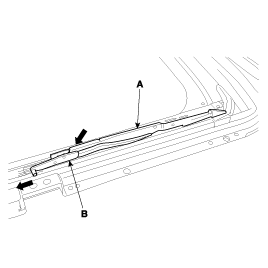
Disconnect the deflector link (A) from the frame (B), and then remove the deflector (C).
Installation is the reverse of removal.
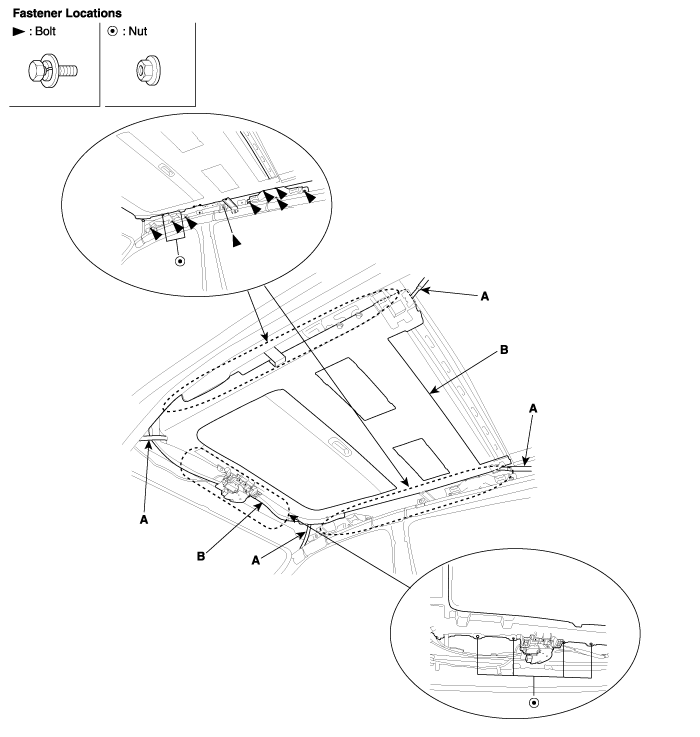
Remove the follows parts.
Front and rear door scuff trim (See page BD- 69).
Front, center and rear pillar trim (See page BD- 69).
Headlining (See page BD- 71).
Sunroof glass (See page BD- 49).
Disconnect the drain tubes (A).
After loosening the mounting bolts and nuts, remove the sunroof assembly (B).
Take care not to scratch the interior trims and other parts.
Installation is the revers of removal.
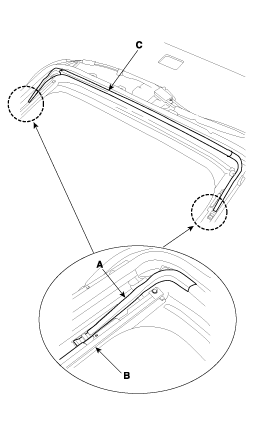
Remove the sunroof assembly (See page BD- 52).
Remove the drip link (A) and sunshade stopper (B).
Remove the sunshade (C) and drip rail (D).
Installation is the reverse of removal.
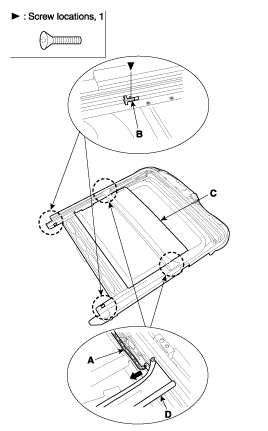
Remove the sunroof assembly (See page BD- 52).
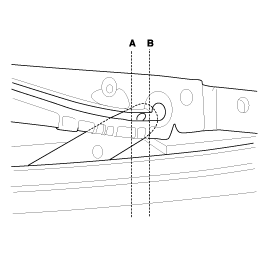
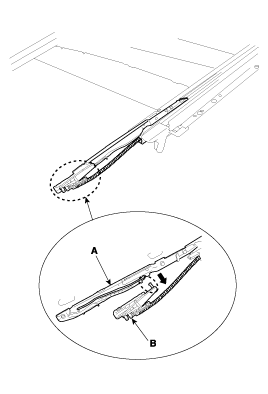
Remove a guide assembly (A) after lowering a guide thoroughly by pushing a slide (B) to rear.
Remove the guide (A) and slide (B).
Installation is the reverse of removal.
Make sure to align the slide with the center of "A" and "B".
Make sure to mitialize the motor.