5.
Detach the wheel speed sensor and the parking brake cable.
Remove the wheel and tire.
Remove the split-pin, flange nut and washer.
After loosen the screws (or bolts), remove the brake drum (or caliper).
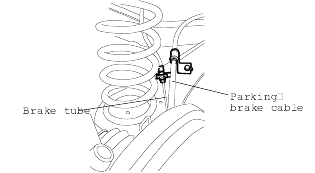
Detach the parking brake system.
Detach the wheel speed sensor and the parking brake cable.
Clamp the brake hose.
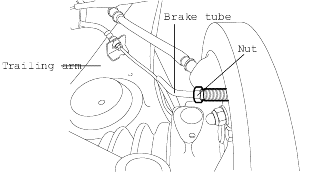
Remove the brake tube from the brake backing plate by loosening the nut.
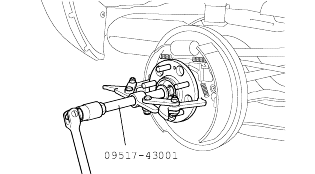
Using the special tool (09517-43001), remove the hub.
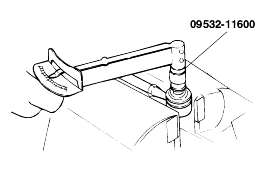
Remove the rear shock absorber assembly.
See [Cf.]p.SS-24, REMOVAL procedure in REAR STRUT ASSEMBLY.
Remove the rear shock absorber mounting bolt, supporting the trailing arm with a jack.
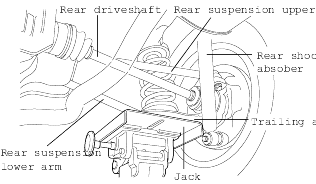
If the rear shock absorber is removed, it can be easy to remove the rear coil spring.
Remove the rear driveshaft from the rear axle assembly.
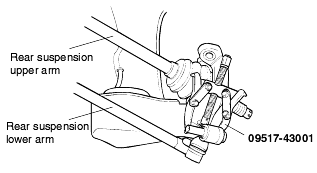
Using the special tool (09517-43001), remove the rear suspension upper and lower arm.
Make the marks on the crossmember and the cams.
Remove the trailing arm complete.
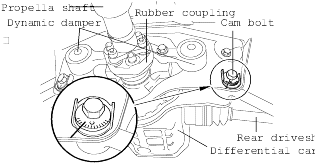
Remove the propeller shaft.
Refer to the removal procedure of propeller shaft, page DS-10.
See [Cf.] p.DS-10, the REMOVAL procedure of PROPELLASHAFT.
Loosen the muffler to ease access.
When the crossmember is removed, you can prevent interference between the muffler and the crossmember.
Remove the crossmember. Provide clearance between the fuel tank and differential carrier.
First, remove the two differential and crossmember mounting bolts and then remove the 4 body and crossmember mounting bolts.
Using the special tools (09545-28100, 09552-25000), replace the rear suspension lower and upper arm bushings.
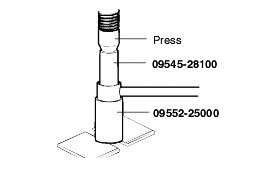
Install the bushings as shown in the illustration.
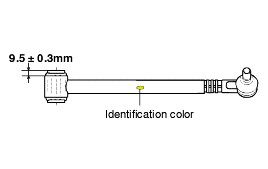
Install the arms following the identification color as shown in the chart.
Part name | LH | RH | |
Rear suspension Lower arm | Assay (55230-26600) | - | Yellow (RH only) |
Complete (55203-26500) | Yellow | Blue | |
Rear suspension Upper arm | Assay (55210-26600) | - | Yellow (RH only) |
Complete (55201-26600) | Yellow | Blue | |
Installation is the reverse of the removal step (See page SS-20).
Align the upper and lower ends of the spring with the grooves of the spring seat and install.
After installing, replenish with brake fluid, and bleed the system.
Verify the wheel alignment (See page SS-30).
Check the bushing for wear and deterioration.
Check the rear suspension lower and upper arm for bending or breakage.
Check the ball joint dust cover for cracks.
Check all bolts.
Check the upper and lower arm ball joint for rotating torque.
If there is a crack in the dust cover, replace the ball joint assembly.
Shake the ball joint stud several times to check for looseness.
Measure the ball joint rotating torque.
Standard value 1-3.5 Nm (10-35 kg·cm, 0.74-2.59 ft·lb) |
Measure the ball joint rotating torque, oscillating 3° at room temperature after 24 hours from completion assembly.
If the rotating torque is above the upper most limit of the standard value, replace the ball joint assembly.
If the rotating torque is below the lower most limit of the standard value and it does not have any drag or excessive play, the ball joint maybe reused.