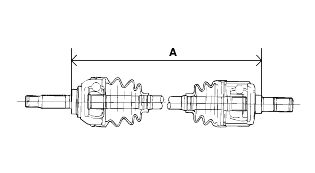
Remove the split pin from the rear hub and driveshaft nut.

Remove the aluminum wheel cover using a flat-blade screwdriver.
Raise the vehicle and remove the wheel.
Remove the split pin from the rear hub and driveshaft nut.

Remove the spare tire and support the hanger of the main muffler to avoid interference with the differential carrier in removing the R.H. driveshaft.
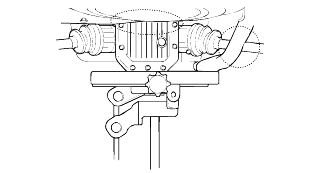
After making matchmarks on the propeller rubber coupling and differential flange, remove the mounting bolts and nuts.
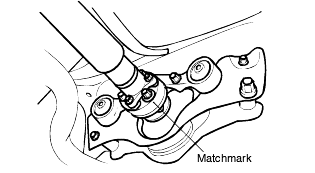
Remove the differential mounting bolts and nuts while the differential carrier is supported by jack.
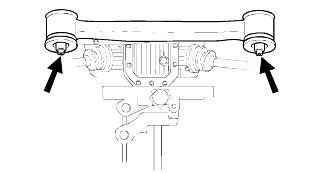
Remove the driveshaft from the differential carrier by inserting a pry bar between the differential carrier and the driveshaft.
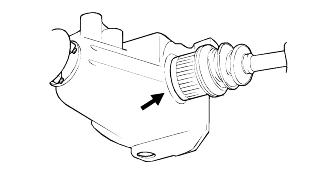
After lowering the jack, move the differential carrier to the rear, and then remove it.
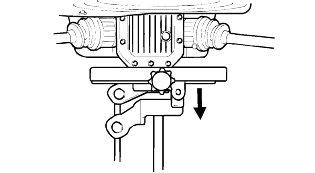
Using a plastic hammer, disconnect the rear driveshaft from the rear axle hub.
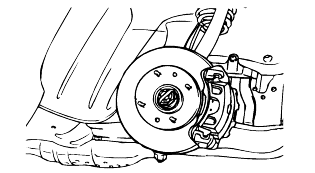
Use a pry bar to avoid damage to the joint.
If you pull the driveshaft with excessive force, components inside the joint can be loosened and cause the boot to be torn or the bearing tobe damaged.
Plug the transaxle case opening with an oil seal cap in order to avoid contamination.
Support the driveshaft properly.
While loosening the driveshaft nut, do not let the vehicle weight bear on the wheel bearing.
Tighten the components below to the specified torque as follows.
Items | Torque Nm (kg·cm, lb·ft) |
Rear driveshaft nut | 200~260 (2000~2600, 148~192) |
Differential mounting rear bracket bolt | 80~100 (800~1000, 58~73) |
Rear differential mounting complete | 70~80 (700~800, 51~58) |
Install the washer under the driveshaft nut with the convex side outward, as shown in the illustration, and tighten the nut.
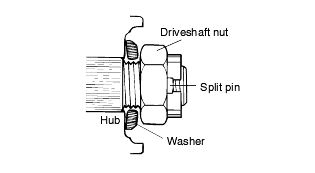
Check the quantity of oil in the differential carrier and fill if it is insufficient.
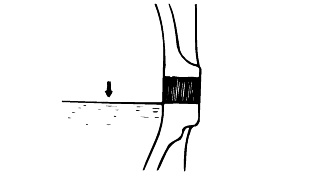
Do not disassemble the B.J. assembly.
Special grease must be applied to the driveshaft joint. Do not substitute with another type of grease.
The boot band should be replaced with a new one.
Remove the D.O.J. boot bands and pull the D.O.J. boot from the D.O.J. outer race.
Be careful not to damage the boot.
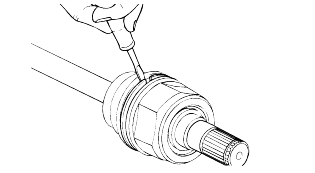
Remove the circlip with a flat-blade screwdriver.
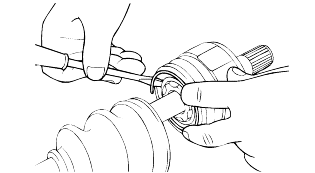
Pull out the driveshaft from the D.O.J. outer race.
Remove the snap ring and take out the inner race, cage and balls as an assembly.
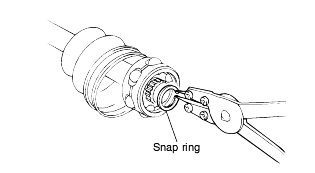
Clean the inner race, cage and balls without disassembling.
Remove the B.J. boot bands and pull out the D.O.J. boot and B.J. boot.
If the boot is to be reused, wrap tape around the driveshaft splines to protect the boot.
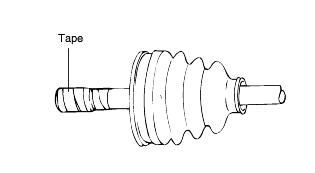
Check the driveshaft boots for damage and deterioration.
Check the splines for wear and damage.
Check the ball joints for wear and operating condition.
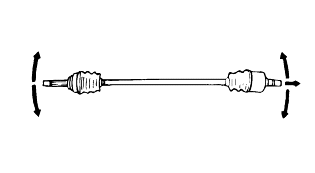
Check the D.O.J. outer race, inner race, cage and balls for rust or damage.
Check the splines for wear.
Check for water, foreign material, or rust in the B.J. boot.
When the B.J. assembly is to be reused, do not wipe out the grease. Check that there are no foreign substances in the grease. If necessary, cleanthe B.J. assembly and replace the grease.
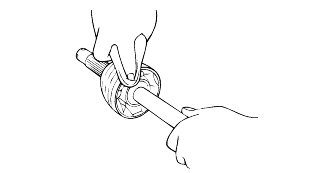
Wrap tape around the driveshaft splines (D.O.J. side ) to prevent damage to the boots.
Apply the specified grease to the driveshaft and install the boots. See [Cf.] p.DS-4, LUBRICANTS.
Apply the specified grease to the inner race and cage. Install the cage so that it is offset on the race as shown in the illustration.
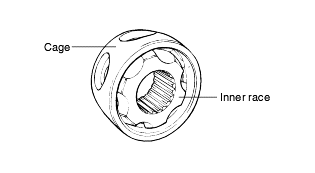
Use the grease included in the repair kit.
Apply the specified grease to the cage and fit the balls into the cage.
Install the chamfered side as shown in the illustration, and then install the inner race on the drive shaft. Install the snap ring.
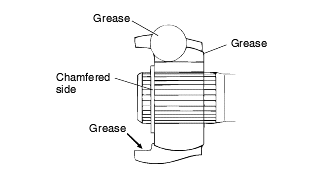
Apply the specified grease to the B.J. outer race and install the outer race onto the driveshaft. See [Cf.] p.DS-4, LUBRICANTS.
Apply the specified grease to the D.O.J. outer race and install the circlip. See [Cf.] p.DS-4, LUBRICANTS.
Tighten the D.O.J. boot bands.
Add the specified grease to the B.J. as much as was wiped out at inspection.
Install the boots.
Tighten the B.J. boot bands.
To control the air in the D.O.J. boot, keep the specified distance between the boot bands when they are tightened.
681.7mm (26.8 in.) |
