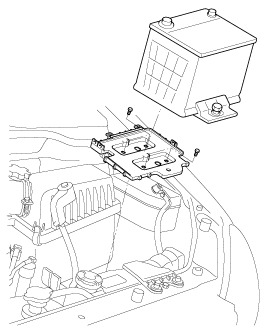
Remove the battery.
Make sure jacks and safety stands are placed properly and hoist brackets are attached to the correct position on the engine.
Use fender covers to avoid damaging painted surface.
Remove the battery.

Make sure jacks and safety stands are placed properly and hoist brackets are attached to the correct position on the engine.
Use fender covers to avoid damaging painted surface.
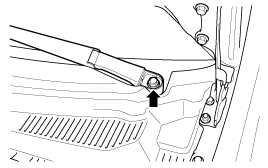
Remove the windshield wiper arms.
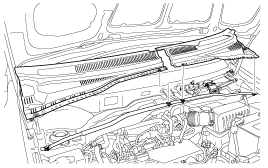
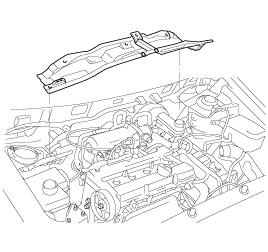
Remove the cowl top cover.
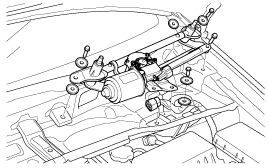
Remove the wiper motor assembly.
Remove the cowl under panel.
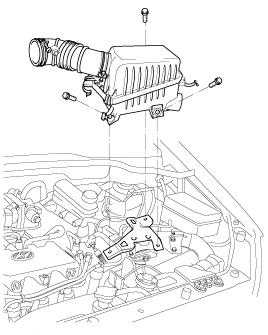
Detach the air cleaner.
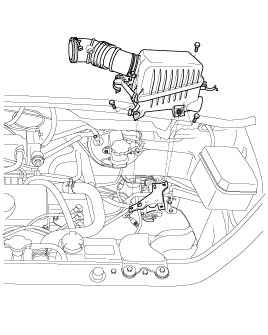
Disconnect the backup lamp and engine harness connectors.
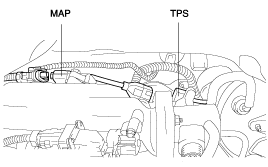
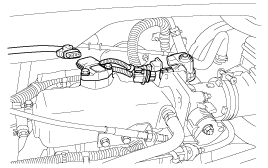
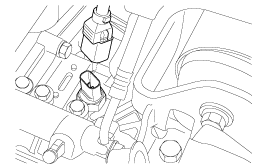
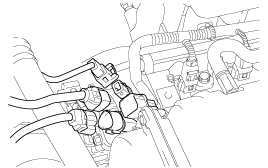
For vehicles with 5-speed manual transaxles, remove the clutch release cylinder.
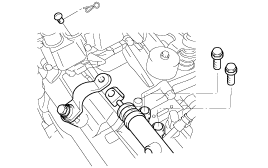
Disconnect the Oxygen sensor and oil pressure connector.
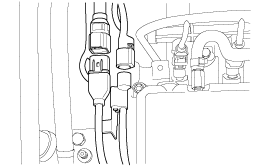
Disconnect the connectors for the rear Oxygen sensor harness and the ignition coil harness.
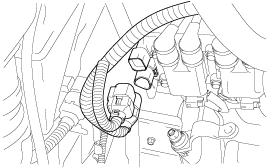
Disconnect the coolant temperature sensor and No.1 TDC sensor connector.
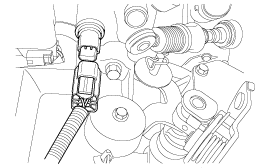
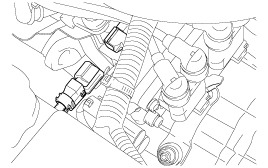
Disconnect the engine ground.
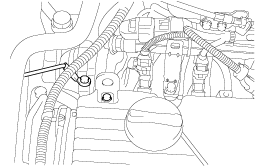
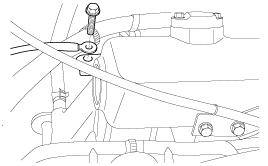
Disconnect the brake booster vacuum hose.
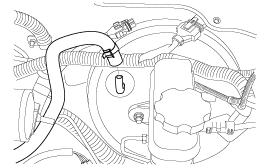
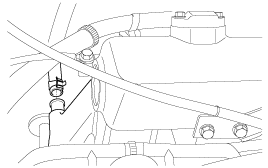
Remove the main fuel line and the return and vapor hoses form the engine side.
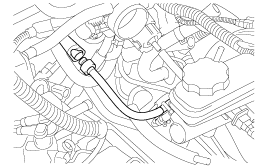
To reduce the residual pressure in the hoses, refer to Group Fuel System "Fuel filter replacement."
Drain the engine coolant from the radiator.
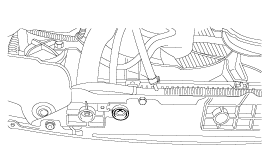
For vehicles with automatic transaxles, disconnect transaxle oil cooler hoses. (1.3 L only)
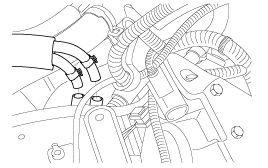
When disconnecting the hoses, make identification marks to avoid making mistakes when reconnecting them.
Be caurful not to spill oil or fluid from hoses, Plug the openings to prevent foreign material from entering.
Disconnect the radiator upper and lower hoses on the engine side, then remove the radiator assembly.
Disconnect the heater hoses (inlet and outlet) on the engine side.
Disconnect the accelerator cable at the engine side.
For vehicles with manual transaxles, remove the shift control cable from the transaxle.
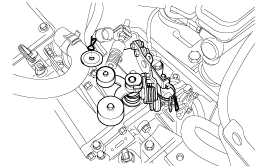
For vehicles with automatic transaxles, remove the control cable from the transaxle. (1.3 L only)
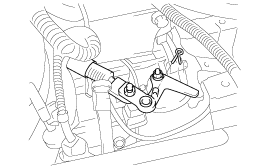
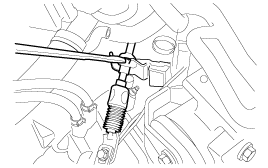
Disconnect the speedometer cable from the transaxle.
Disconnect the air conditioning compressor from the mounting bracket.
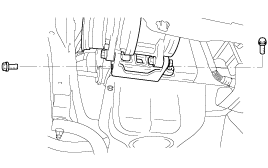
Remove the steering dust cover, the U-joint bolt and the gear box assembly.
Mark between U-joint and gear box before disassembling.
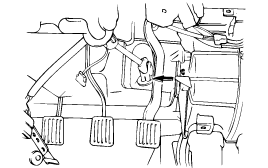
Jack up the vehicle and remove the front tire.
Remove the caliper assembly from knuckle and hold the upper side.
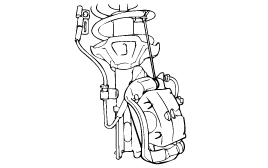
Loosen the strut lower bolt and separate from the knuckle.
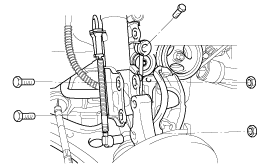
Remove the wheel speed sensor from the knuckle. (with ABS)
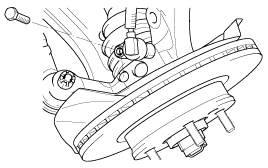
Disconnect the front exhaust pipe from the manifold.
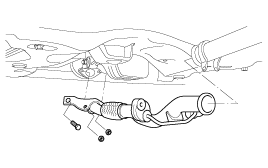
Use wire to suspend the exhaust pipe from the bottem of the vehicle.
Attach a chains or cables to the engine.
Use an engine hoist or a chain hoist to slightly raise the engine (enough to support the engine's weifht while processing with the following steps.)
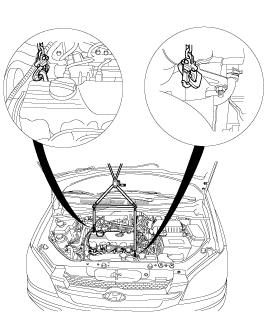
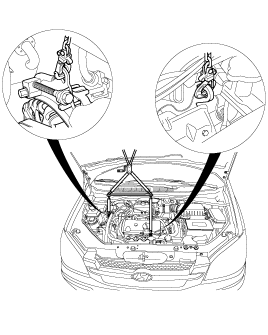
Remove the engine mounting bracket from the engine.
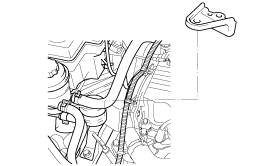
Slowly raise the engine (to the extent that the weight of the engien and transmission assembly is not applied to the mounting portions) and temporarily hold it in the raised position.
Remove the caps from the inside of the right fender shield and remove the transaxle mount bracket bolts.
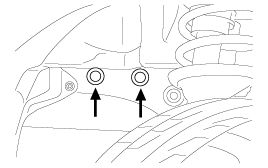
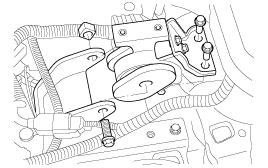
Remove the cross member fixing bolts and nuts.
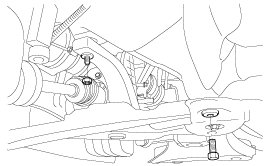
While directing the transmission side downward, lift the engine and transmission assembly up and out of the vehicles.