Remove the battery terminal and the battery.
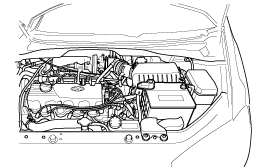
Remove the battery terminal and the battery.

Remove the battery tray. (Bolt : 5EA)
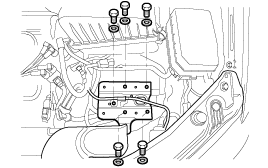
Remove the battery tray bracket. (Bolt : 5EA)
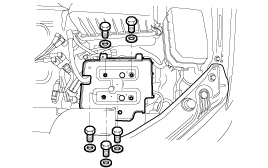
Removal of air cleaner
Upper
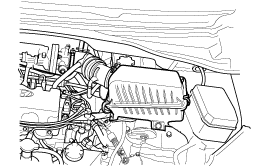
Lower (Bolt : 3EA)
One bolt among the three bolts is installed in the lower position of the cowl top cover.
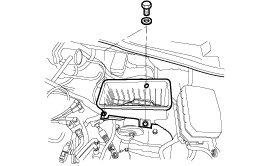
Remove the air cleaner bracket.
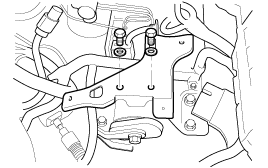
Remove the back-up lamp switch.
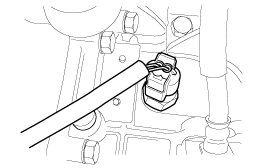
Remove the clutch release mounting bolts.
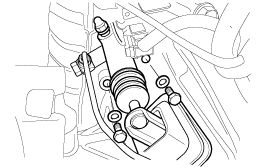
Remove the cotter pin of the shift cable.
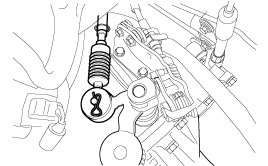
Remove the cotter pin of the selector cable.
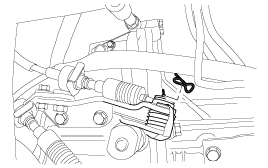
Remove the clip of the shift cable.
Remove the clip of the selector cable.
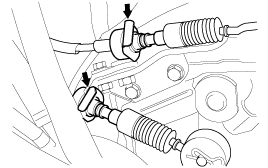
Remove the speedometer driven gear connector.
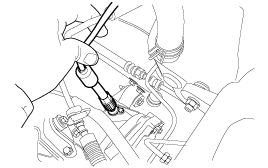
Remove the tire.
Remove the starter motor upward the transaxle.
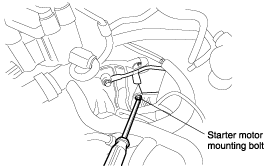
Remove the bolt for the upper connection of the engine and the transaxle.
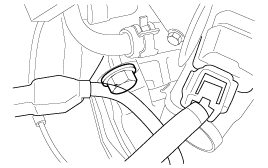
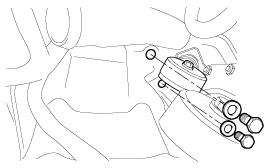
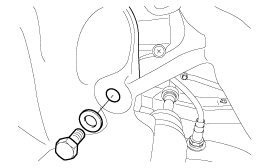
Remove the caliper after lifting up the vehicle.
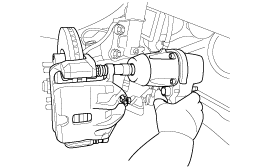
Separate the tie rod end from the pin and nut.
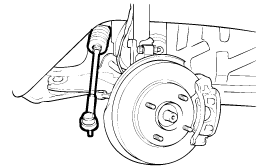
Remove the oil drain plug and drain the oil.
Remove the wheel speed sensor and the knuckle mounting bolt.
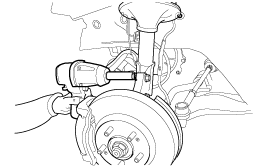
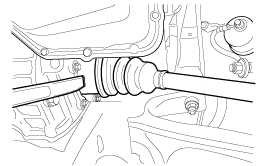
Remove the drive shaft and the hub nut.
Install the special tools (09200-38001, 09200-1C000), the engine support fixture and the adapter, on the engine assembly.
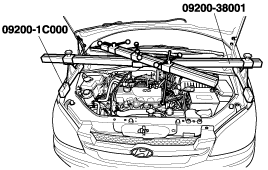
When using the special tool, be careful that the hook holder of the special tool doesn't wear the cowl top cover.
Remove the transaxle mounting bracket.
Body mounting side (Left side)
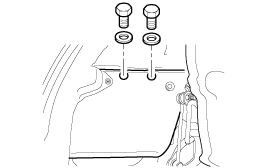
Insulator bolt
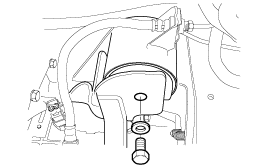
Remove the transaxle rear mounting bracket (Bolt : 2EA) after lifting up the vehicle.
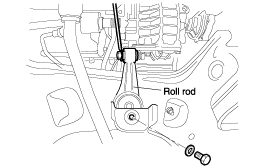
Remove the bell housing cover. (Bolt : 5EA)
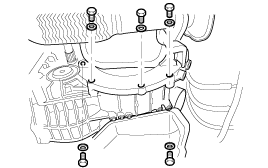
Install the jack for supporting transaxle.
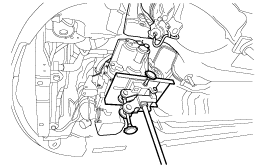
Remove the lower mounting bolts of the transaxle.
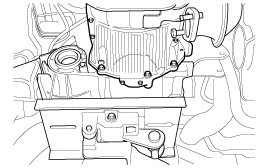
Remove the transaxle.
Installation is the reverse of removal.
Inspect the transaxle for evidence of leakage. Check the gear oil level by removing the filler plug. If the oil is contaminated, it is necessary to replace it with new oil.
Remove the oil filler plug and check the level with finger.
Oil level must be up to the filler hole. If it is below the hole, add oil until it runs out, then reinstall the plug.
Replace the oil if the transaxle gear oil is noticeably dirty, or it is not of a suitable viscosity.
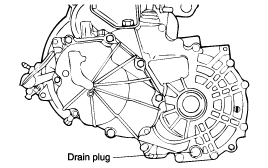
With the vehicle parked on a level surface, remove the drain plug and drain the transaxle oil.
Replace the gasket with a new one and install the drain plug.
Tightening torque :
Drain plug : 30~35 Nm (300~350 kg·cm, 22~25 lb·ft)
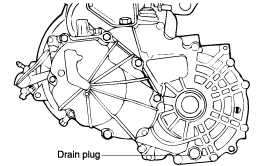
Add new oil the through the filler plug, filling to the same level as the opening plug.
Transaxle oil total capacity :
2.15 Liters (2.27 U.s.qts., 1.89 lmp.qts.)
Tightening torque :
Filler plug : 30~35 Nm (300~350 kg·cm, 22~25 lb·ft)
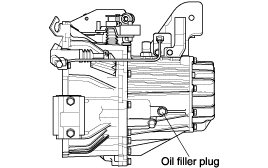
Disconnect the drive shaft from the transaxle (Refer to DS GROUP).
Using a flat-tip screwdriver, remove the oil seal.
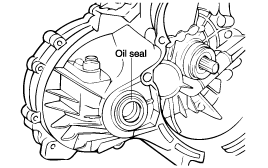
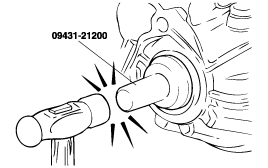
Using the special tool (09431-21200), tap the drive shaft oil seal into the transaxle.
Apply a coating of gear oil to the lip of the oil seal.
Transaxle gear oil :
HYUNDAI GENUINE PARTS MTF 75W/90
conforming to API GL-4 or higher
