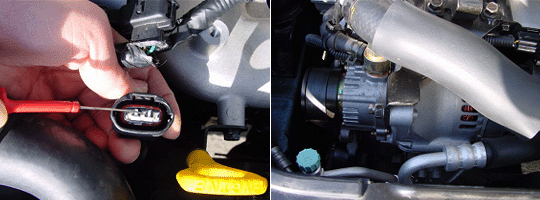
Component Inspection
How to Check the Alternator

BASIC INSPECTION

Before performing the inspection of alternator, make sure that the follwing items :

① Alternator belt inspection for wear, crack and tension.

② Loosen alternator mounting bolt and adjusting bolt

③ Wiring/harness for the connector connection, loose wires, corrosion, bent or broken terminals etc.

④ Fuse inspection for the ALT (120A) of B teminal and ECM B+ (15A) of S terminal.

1.

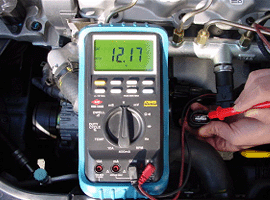
Check the disconnection voltage of aternator

a.

Specification

a.

Battery voltage for L and S terminal

Test condition

① Disconnect L(lamp) and S(sensing) connectors.

② Turn the ignition switch ON.

③ Charging lamp indicator comes on

If there is no the battery voltage at the L and S terminal, check the following items :

- Inspect the fuse of ECM B+ (15A) of S terminal.

- Inspect short in the wire between the charging lamp indicator and the L terminal.
2.

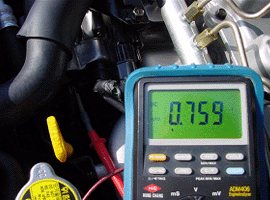
Check the connection voltage of alternator

a.

Specification

a.

Battery voltage for S terminal

b.

approx. 1V for L terminal after the ignition switch ON with the connection.

Test condition

① Connect L(lamp) and S(sensing) connectors.

② Turn the ignition switch ON.

③ Charging lamp indicator comes on

Unless the voltage or abnormal voltage is checked at the L and S terminal, repair the alternator components or replace the alternator as necessary.

For more service information, Refer to the shop manual

3.

Check the charging voltage and amperage.

Test Procedure

① Be sure the battery is sufficiently charged and in good condition.

② Connector the inductive pick up of ammeter over the B terminal wire of alternator and zero the ammeter.

③ For the charging voltage check, connect the probe to the L terminal

④ Raise the engine speed to 2,000 rpm abd hold it there.

a.

Specification

a.

14.5 ± 0.5 V at 2,000 rpm

Unless the voltage or abnormal voltage is checked, repair the components or replace the alternator as necessary.

For more service information, Refer to the shop manual

Яндекс.Метрика