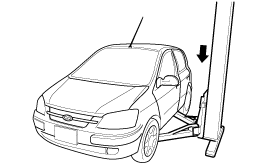
Support the specified point of the vehicle with a lift.
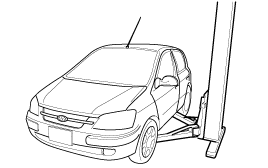
Support the specified point of the vehicle with a lift.

Remove the front tires (RH/LH).
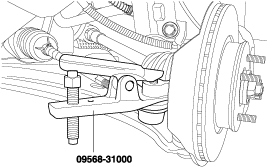
After removing the split pin, disconnect the tie rod from the knuckle by using the speicial tool.
Disconnect the shaft assembly from the gear box inside the passenger compartment.
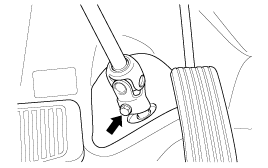
Keep the neutral-range to prevent the damage of the clock spring inner cable when you handlethe steering wheel.
Disconnect the front muffler assembly.
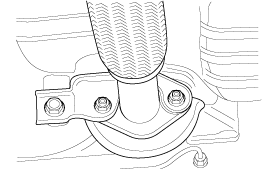
Raise up the vehicle.
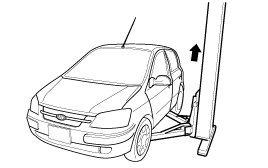
Disconnect the transaxle rear mounting bracket.
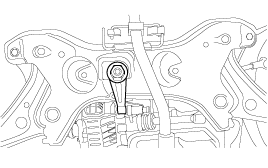
After supporting the crossmember with a transaxle jack, remove the 4 bolts fixing the crossmember.
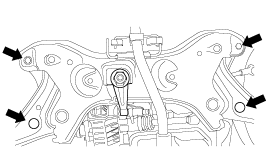
Remove the manual steering gear box mounting bolt and clamp.
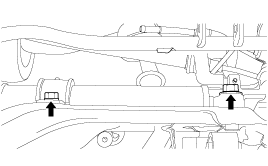
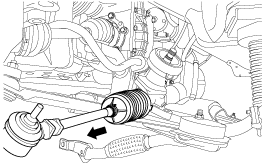
Separate the manual steering gear box assembly by pulling it toward the right side of the vehicle.
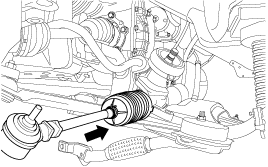
Install the manual steering gear box assembly by inserting it from the right side.
Fix the manual steering gear box to the crossmember.

After lifting the crossmember assembly with a transaxle jack, install the crossmember to the body.

Fix the transaxle rear mounting clamp.

Fix the front muffler assembly.

Lower the vehicle.
Connect the tie rod to the LH/RH knuckles.

Install the tires (LH/RH).
Connect the steering shaft assembly to the gear box in the passenger compartment.

When mounting the gear box in a vise, let the installation section of it be fixed to the jaws. If other section is fixed the gear box may be damaged.
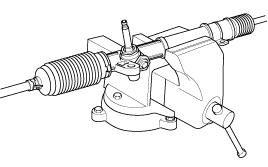
Rotate the pinion gear for approximately 4 to 6 seconds for one rotation to measure the total pinion preload.
Standard value
0.6~1.3 Nm (6~13 kg·cm, 0.4~1.0 lb·ft)
Measure the pinion preload through the entire stroke of the rack.
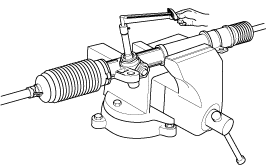
If the measured value is out of specifications, first adjust the yoke plug, then recheck the total pinion preload.
If you adjust the yoke plug but do not obtain the total pinion preload, check or replace the yoke plug components.
Rotate the tie rod severely ten times.
Measure the tie rod swing resistance with a spring scale.
Standard value
8~22 N (1.9~4.6 lb)
[2~5 Nm (20~50 kg·cm, 17~43 lb·in)]
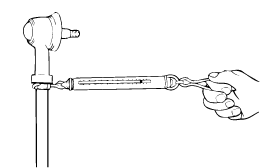
If the measured value exceeds the standard value, replace the tie rod assembly.
Even if the measured value is below the standard value, the tie rod that swings smoothly without excessive play may be used. If the measured value is below 0.44 kg·cm, replace the tie rod.
Inspect the bellows for damage or deterioration.
Make sure the bellows are secured in the correct position.
If the bellows are defective, replace them with new ones.
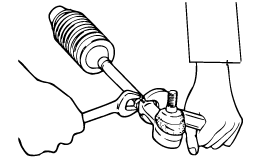
Remove the tie rod end from the tie rod.
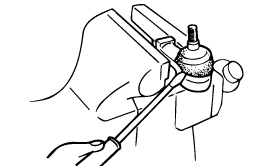
After mounting the tie rod end in a vise, remove the dust cover from the ball joint.
Remove the bellows band.
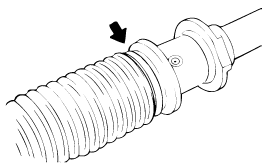
Remove the bellows clip.
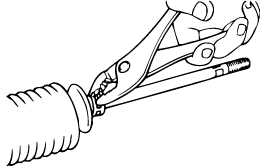
Pull the bellows out toward the tie rod.
Check for rust on the rack when the bellows are replaced.
Unstake the tab washer which fixes the tie rod and rack with a chisel.
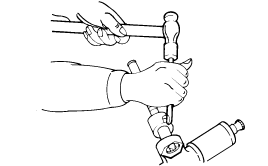
Remove the yoke plug locking nut.
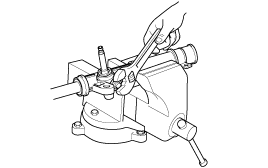
Remove the yoke plug with a 14mm socket.
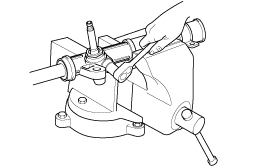
Remove the lock nut, yoke plug rack support spring, rack support yoke and bushing.
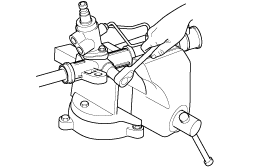
Move the rack completely toward the housing and mount the rack tooth portion in a brass plate of a vise.
At the state of step 11, loosen the tie rod ball joint, then remove the tie rod assembly from the rack.
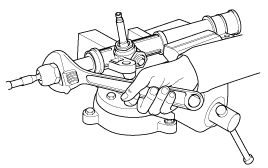
Remove the rack from the gear housing.
Remove the rack toward the left side of the vehicle so as not to damage the bushing by the rack teeth.
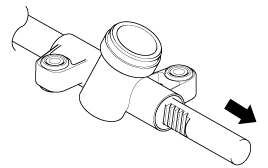
Apply the specified grease to the rack, insert the rack into the gear housing, and then insert the pinion into the gear housing.
Make sure that the rack is inserted into the gear housing from the left side.
When inserting the pinion into the gear housing, the pinion gear should be in mesh with the rack gear.
Wipe off excessive grease.
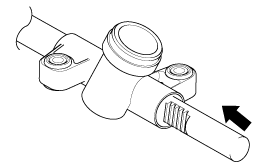
Prior to oil seal installation in the gear box, apply grease to the surface of the oil seal.
Be sure to use a new oil seal.
Install the rack support yoke, rack support spring, yoke plug, and lock nut to the pinion gear box.
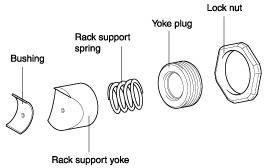
Tighten the yoke plug to 11Nm (112 kg·cm, 8 lb·ft) and then back off 30°~60°. Secure the yoke plug with the lock nut.
Adjust the yoke plug with the rack in the neutral position.
Apply a sealer between the lock nut and the housing.

After installing the tie rod to the rack, punch on a point over the tie rod with a chisel.
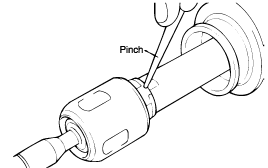
Install the bellows in position and fix it with the band and clip.
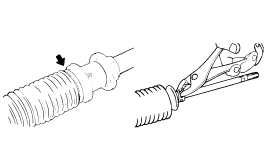
Mount tie rod end in a vise and install the dust cover to the tie rod end.

Install the tie rod to the tie rod end.
