Remove the trailing arm assembly.
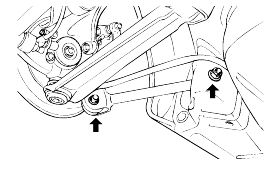
Remove the rear side bolt.
Remove the front side trailing arm nut.
Remove the trailing arm assembly.

Using the special tools(09216-21600, 09552-38100), remove and press-fit the bushing.
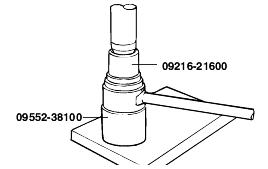
When press fitting, apply soap solution to the outside surface of the bushing, position it as shown in the illustration.
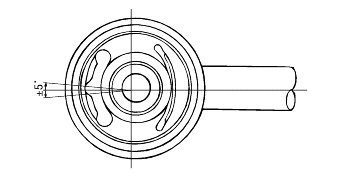
Install the trailing arm.
Remove the assist arm assembly.
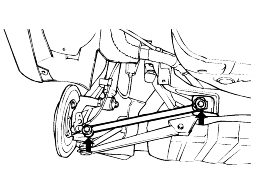
Using the special tool(09552-38000), replace the bushing.
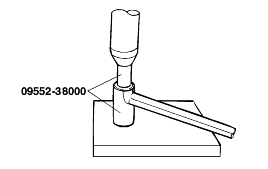
When press-fitting, apply soap solution to the bushing and inside the assist arm.
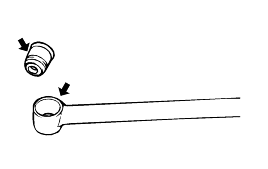
Install the assist arm assembly.
Loosen the ball joint nut but do not remove it.
Using the special tool(09545-4A000), disconnect the ball joint from the rear axle carrier.
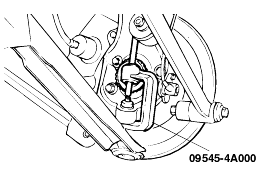
Remove the center arm mounting bolt.
Remove the center arm assembly.
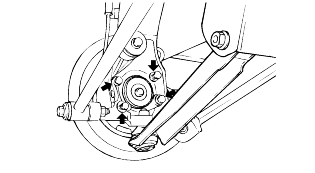
Using the special tools(09545-33000B, 09552-38200), replace the bushing.
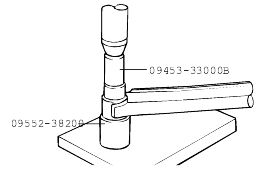
Install the rear center arm.
Remove the stabilizer link assembly.
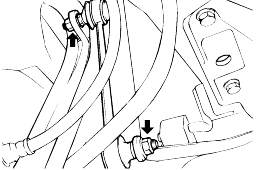
Check the stabilizer link ball joint rotating torque.
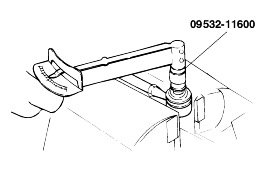
If there is a crack in the dust cover, replace it and add grease.
Shake the stabilizer link ball joint stud several times.
Mount the self-locking nut on the ball joint, and then measure the ball joint rotating torque.
Standard value 1.7-3.2 Nm (17-32 kg·cm, 15-27 lb·in.) |
If the rotating torque exceeds the upper limit of standard value, replace the stabilizer link.
Even if the rotating torque is below the lower limit of the standard value, the ball joint may be reused unless it has drag and excessive play.