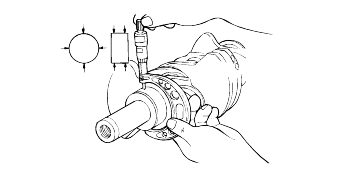
Check the crankshaft journals and pins for damage, uneven wear and cracks. Also check the oil holes for restrictions. Repair or replace any defectiveparts.
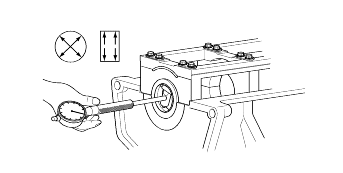
Inspect the crankshaft journal and pin for out-of-round and taper.
Standard value |
Crankshaft journal O.D : |
3.5 : 63.982 - 64.00 mm (2.519 - 2.5197 in.) |
3.0 : 59.987 - 59.996 mm (2.3617 - 2.3620 in.) |
Crankshaft pin O.D : |
3.5 : 54.982 - 55.00 mm (2.165 - 2.1653 in.) |
3.0 : 49.976 - 49.996 mm (1.967 - 1.968 in.) |
Standard value |
Oil clearance |
Crankshaft main bearing : |
0.018 - 0.036 mm (0.0007 - 0.0014 in.) |
Connecting rod bearing : |
0.022 - 0.048 mm (0.0009 - 0.002 in.) |
Remove oil, grease and any other dirt from the bearings and journals.
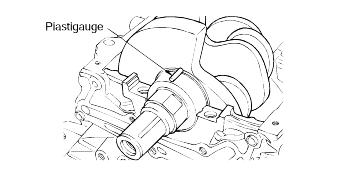
Cut the plastigauge the same length as the width of the bearing and place it in parallel with the journal, avoiding the oil holes.
Install the crankshaft, bearings and caps and tighten them to the specified torques. During this operation, do not turn the crankshaft. Remove the caps. Measure the width of the plastigauge at the widest part by using the scaleprinted on the gauge package.
If the clearance exceeds the service limit, the bearing should be replaced or an undersize bearing should be used. When installing a new crankshaft,be sure to use standard size bearings.
If the standard clearance can not be obtained even after replacing the bearing, the journal and pin should be ground to the undersize and a bearingof the corresponding size should be installed.