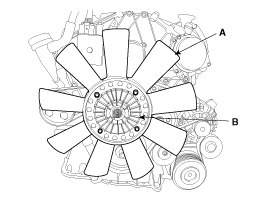
Remove the cooling fan (A) and pan clutch (B).
Use fender covers to avoid damaging painted surfaces.
To avoid damage, unplug the wiring connectors carefully while holding the connector portion.
Mark all wiring and hoses to avoid misconnection.
Remove the cooling fan (A) and pan clutch (B).

Compressing the tensioner (A) with a wrench in a left hand by turning it clockwise, start removing the drive belt (B) from the water pump side idler.
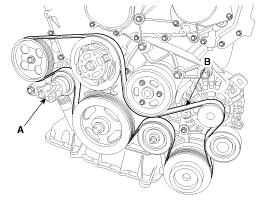
Conform to what is described above because tension of the belt in this engine is higher than ones of other engines for preventing a slip.
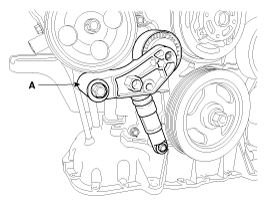
Remove the drive belt tensioner (A).
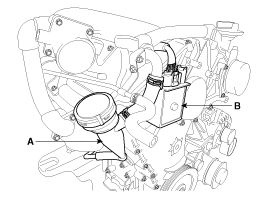
Remove the oil separator & pipe (A), and glow control unit (B).
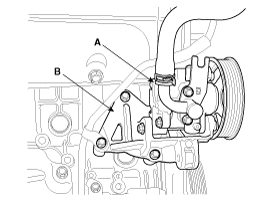
Remove the power steering pump (A) and bracket (B).
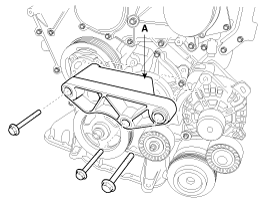
Remove the alternator bracket (A).
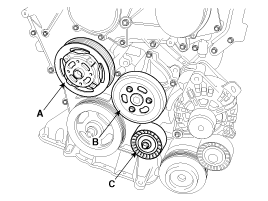
Remove the fan pulley assembly (A), water pump pulley (B) and Idler (C).
Remove the vacuum pump (A).
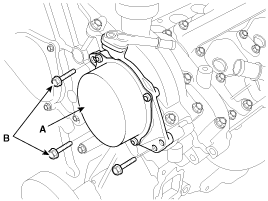
Do not disassemble the vacuum pump.
Remove the crankshaft pulley (A) with its washer (B) and mounting bolt (C).
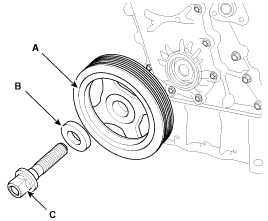
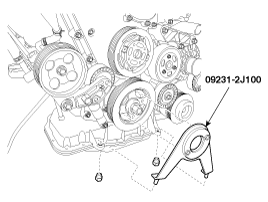
Use the SST (09231-2J100) to fix the crankshaft when remove the crankshaft pulley bolt.
Remove the chain caps (C) and loosen the front chain cover mounting bolts(A-20EA, B-4EA).
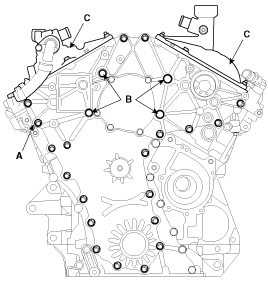
Remove the front chain cover (A).
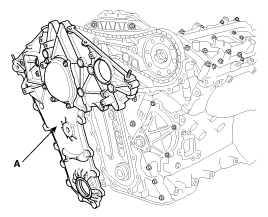
Remove the hydraulic tensioner (A).
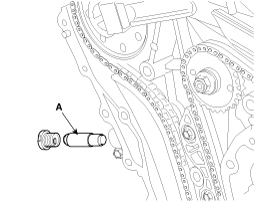
Remove the timing chain with the chain guide and the tensioner lever.
Remove the high pressure fuel pump sprocket.
Remove the upper head seal.
Remove the water pump (A) with its gasket.
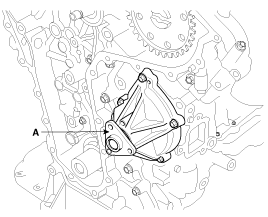
Remove the high pressure pump. (Refer to FL group)
Remove the camshaft and the cylinder head assembly.
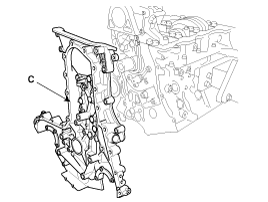
Remove the chain case mounting bolts.
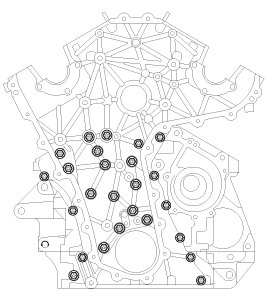
Remove the chain case assembly (C).
