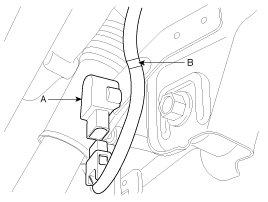
Remove the connector (A) & clip (B).
Remove the front wheel & tire.
Remove the connector (A) & clip (B).

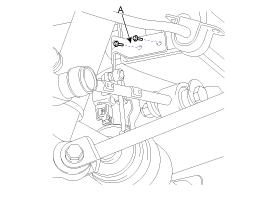
Loosen the bolt and then remove the height sensor (A).
Installation is the reverse of removal.
Avoid suffering excessive impact.
Do not entering the water into pin inside.
Due to the deviation during sensor mounting as well as the sensor itself, it is required to calibrate the sensor when,
sensor was replaced
air spring was replaced
ECS control module was replaced
lower arm was replaced
assist arm was replaced
When calibrate the sensor, must comply with the following procedure.
Set the vehicle height to the normal level (using ECS switch if necessary) Be sure that the normal level is based on the design height.
Connect the scanner and turn off the ignition.
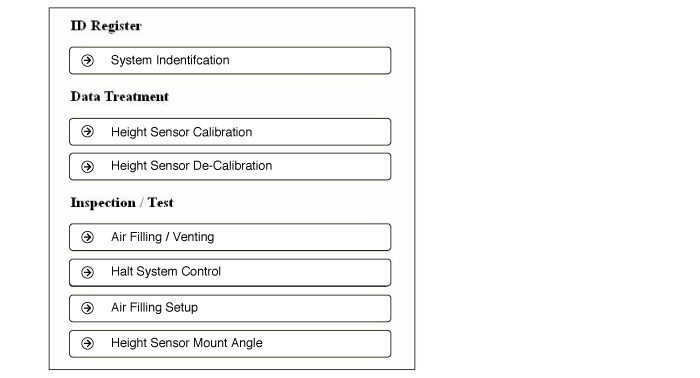
Move to the menu of ‘Filling reservoir tank using compressor’ in the Actuator Test of the scanner as shown in the captured picture in below.
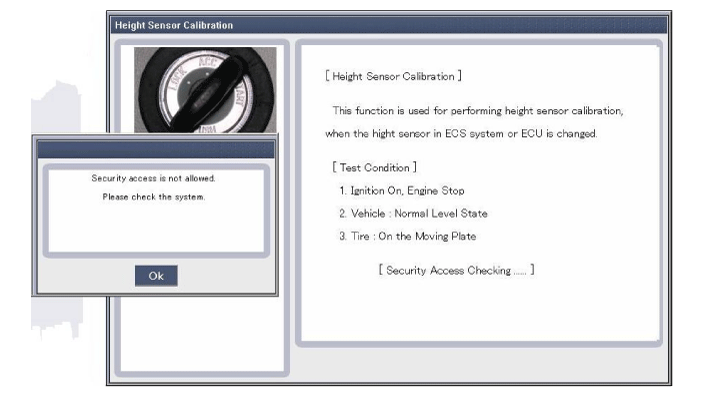
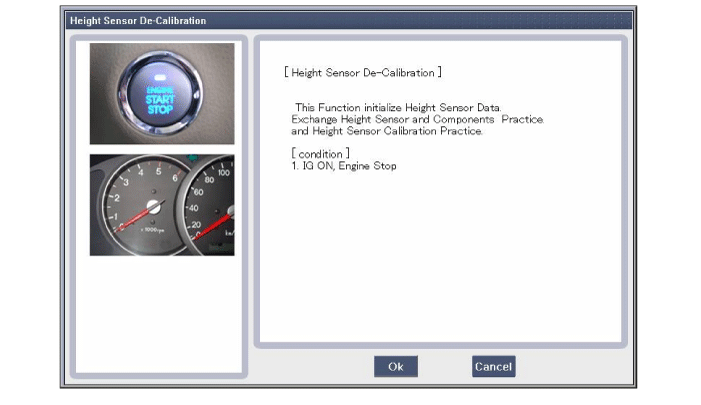
Move to the menu of ‘Height sensor calibration’ in the scanner, click OK button and the current vehicle height value may appear in the scanner.
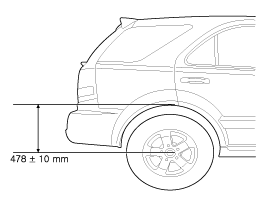
Measure the actual vehicle height using the measuring tape as shown in the picture.
If the measure value is out of specification (referred to as ‘design height: 478±10mm), repeat the procedure from No.3 to No.5.
Input the measured value to the scanner (for left and right respectively)
(The system may recognize the input value as a current vehicle height)
If the deviation exists between left and right, the system may perform the self leveling in order to reach to the design height.
