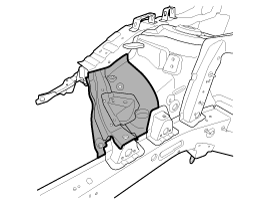
To remove the front side member, drill out all spotwelds, MIG plug welds and grind away MIG lap weld attaching the fender apron inner panel.
When spotwelded portions are not apparent, remove paint with a rotary wire brush.
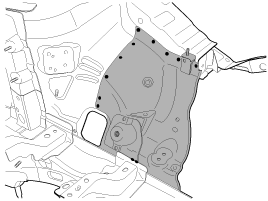
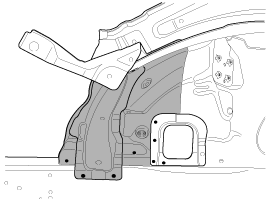
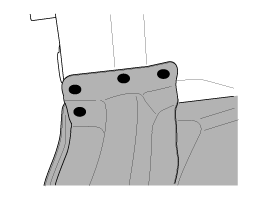
Before repairing, remove Engine and Suspension Components.
Refer to the body dimension charts and measure the vehicle to determine straightening and alignment requirements. The body must return to its original dimension after the repair procedure.
To remove the front side member, drill out all spotwelds, MIG plug welds and grind away MIG lap weld attaching the fender apron inner panel.
When spotwelded portions are not apparent, remove paint with a rotary wire brush.


Remove the fender apron inner front panel.
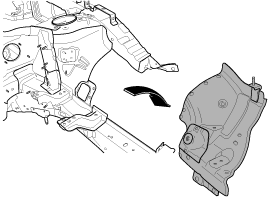
To remove the front side member, drill out all spotwelds attaching the battery tray leg bracket.
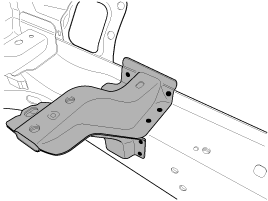
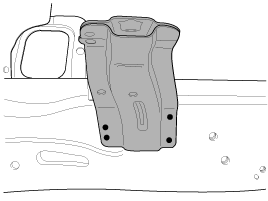
Remove the battery tray leg bracket.
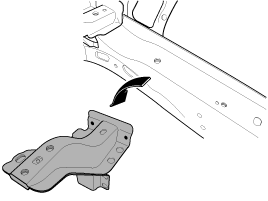
Measure and mark the cutlines on the front side inner member. Cut the front side inner member along the cutlines.
When cutting the front side member, take care not to cut through the mating flanges or front side member reinforcement.
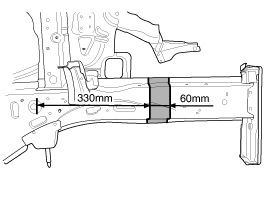
Drill out all spotwelds attaching the front side member section.
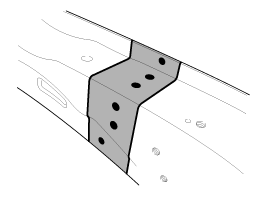
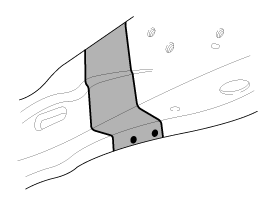
Remove the front side inner member section.
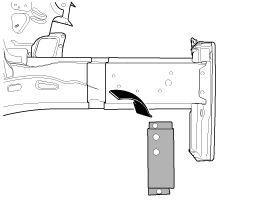
Measure and mark the cutline on the front side inner reinforcement. Cut the front side inner reinforcement along the cutline.
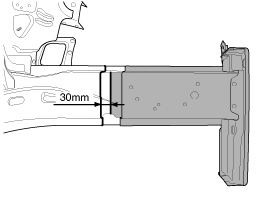
Measure and mark the cutline on the front side outer member. Cut the front side outer member along the cutline.
When cutting the front side outer member, take care not to cut through the mating flanges.
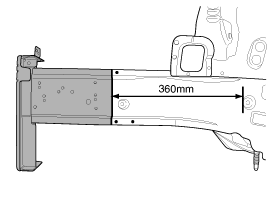
Drill out all spotwelds attaching the front side outer member.
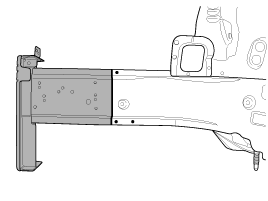
Remove the front side member.
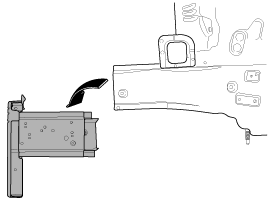
Prepare all surfaces to be welded.
After removing, apply the welding primer.
Before repairing, remove Engine and Suspension Components.
Refer to the body dimension charts and measure the vehicle to determine straightening and alignment requirements. The body must return to its original dimension after the repair procedure.
To remove the front side member, remove the fender apron inner panel (Refer to the fender apron inner panel repair procedures).
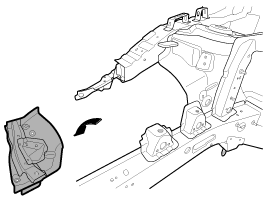
To remove the front side member, drill out all spotwelds attaching the engine mounting bracket.
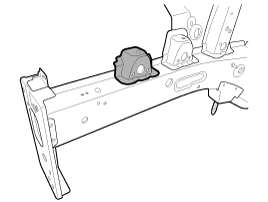
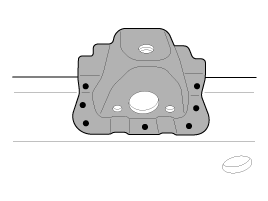
Remove the engine mounting bracket.
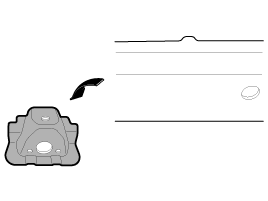
Measure and mark the cutlines on the front side inner member.
Cut the front side inner member along the cutlines.
When cutting the front side inner member, take care not to cut through the mating flanges or front side inner member reinforcement.
Drill out all spotwelds attaching the front side inner member.
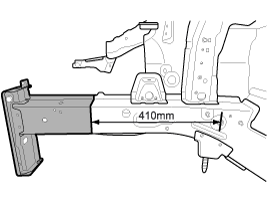
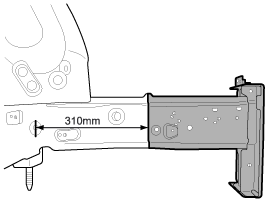
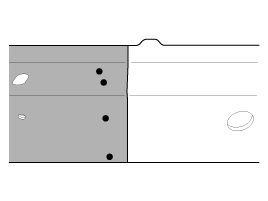
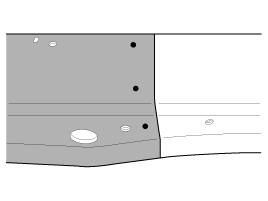
Remove the front side inner member.
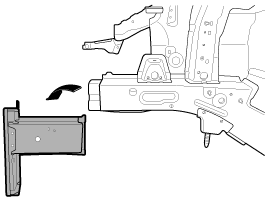
Straighten all flanges as necessary, prepare all surfaces to be welded.
Clean and prepare all welds, and remove all residues.
After removing, apply the welding primer.
Measure and mark the cutlines on the new front side member. Cut the new front side member along the cutlines
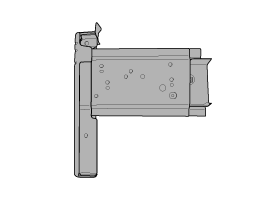
Drill the holes in the flange of the replacement new front side member for MIG plug welding.
Fit and clamp the new front side member in place.
Measure each measurement point (Refer to the Body Dimensions) and correct the installation position.
MIG plug weld all holes and MIG butt weld the seams.
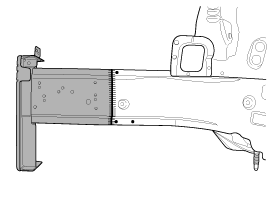
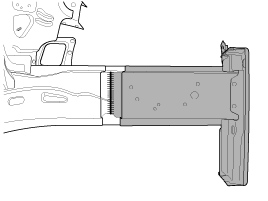
Reattach the front side inner member section that was cut off, then MIG butt weld the seams.
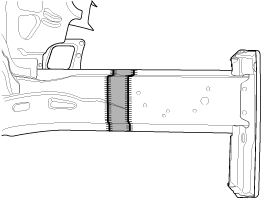
MIG plug weld all holes.
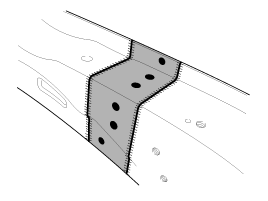
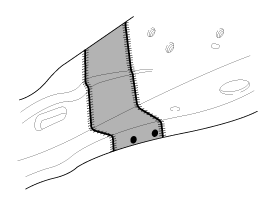
Clean and prepare all welds, and remove all residues.
After removing, apply the welding primer.
Drill the holes in the flange of the replacement new battery tray leg bracket for MIG plug welding.
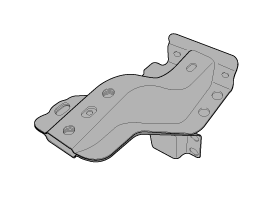
Fit and clamp the new battery tray leg bracket in place.
Measure each measurement point (Refer to the Body Dimensions) and correct the installation position.
MIG plug weld all holes.


Clean and prepare all welds, and remove all residues.
Prepare the exterior surfaces for priming using wax and grease remover.
Drill the holes in the flange of the replacement new fender apron inner panel for MIG plug welding.
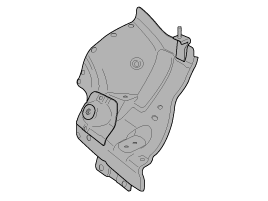
Fit and clamp the new fender apron inner front panel in place.
Measure each measurement point (Refer to the Body Dimensions) and correct the installation position.
MIG plug weld all holes and MIG lap weld the seam.


Clean and prepare all welds, and remove all residues.
Apply an anti-corrosion agent as required (Refer to the Corrosion Protection).
Prepare the exterior surfaces for priming using wax and grease remover.
Apply the correct seam sealer to all joints carefully (Refer to the Body Sealing Location).
In case of welding during panel installation, perform spot welding on all parts except instructed otherwise in this manual.
For panels that cannot be spot welded (e.g. parts with holes, parts blocked by panel, parts inaccessible by spot welding arm, etc.), perform MIG PLUG welding.
Cut and process new panel before installing on body.
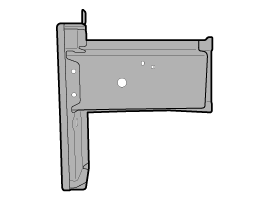
Using a clamp, fix the new panel on body.
The application point of epoxy adhesive differs according to panel installation area. The panel must be installed to the body before epoxy adhesive dries.
Check the dimensions of the new panel that has been fixed. If the dimensions differ, adjust again.
After confirming all dimensions, perform welding on the panel.
After performing temporary welding (tack welding), double check the dimensions, and then perform welding.
Spot welding after epoxy adhesive has dried may cause weld defects at all times, complete all spot welding operations before epoxy adhesive dries.
If epoxy adhesive is applied on the MIG PLUG welding point, perform MIG PLUG welding after removing epoxy adhesive.
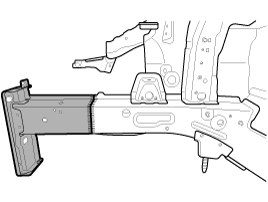
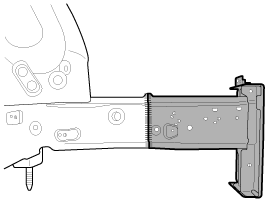
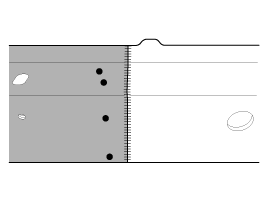
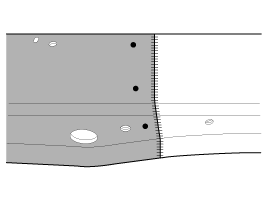
Cut and process new panel before installing on body.
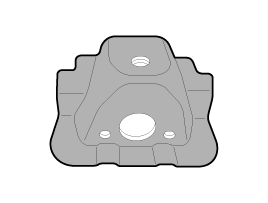
Using a clamp, fix the new panel on body.
The application point of epoxy adhesive differs according to panel installation area. The panel must be installed to the body before epoxy adhesive dries.
Check the dimensions of the new panel that has been fixed. If the dimensions differ, adjust again.
After confirming all dimensions, perform welding on the panel.
After performing temporary welding (tack welding), double check the dimensions, and then perform welding.
Spot welding after epoxy adhesive has dried may cause weld defects at all times, complete all spot welding operations before epoxy adhesive dries.
If epoxy adhesive is applied on the MIG PLUG welding point, perform MIG PLUG welding after removing epoxy adhesive.


Clean and prepare all welds, and remove all residues.
Apply an anti-corrosion agent as required (Refer to the Corrosion Protection).
Prepare the exterior surfaces for priming using wax and grease remover.
Apply the correct seam sealer to all joints carefully (Refer to the Body Sealing Locations).
Install the fender apron inner panel (Refer to the fender apron inner panel repair procedures).
