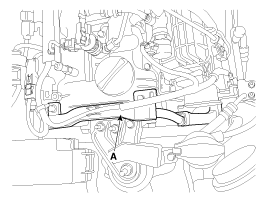
Release the the engine wiring harness part (A) after removing the mounting bolts.
Turn the ignition switch OFF and disconnect the battery negative (-) terminal.
Release the the engine wiring harness part (A) after removing the mounting bolts.

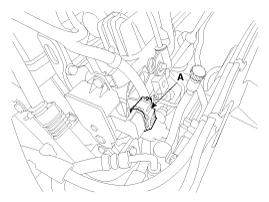
Disconnect the variable swirl actuator connector (A).
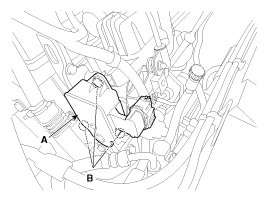
Remove the variable swirl actuator (A) after loosening the mounting bolts (B).
Remove the shaft link assembly (C) after removing the E-ring (A) and the washer (B).
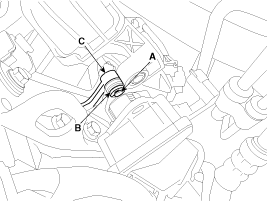
Be careful not to remove the washer or E-ring.
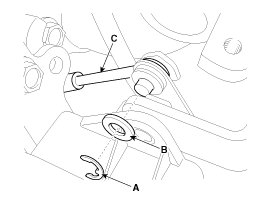
Remove the variable swirl actuator.
Install in the reverse order of removal.
Variable swirl actuator mounting bolt:
9.8 ~ 11.8 Nm (1.0 ~ 1.2 kgf.m, 7.2 ~ 8.7 lb-ft)
Confirm normal operation of the actuator more than 3 times when the ignition switch OFF after full warm up (Engine Coolant Temperature > 70°C).
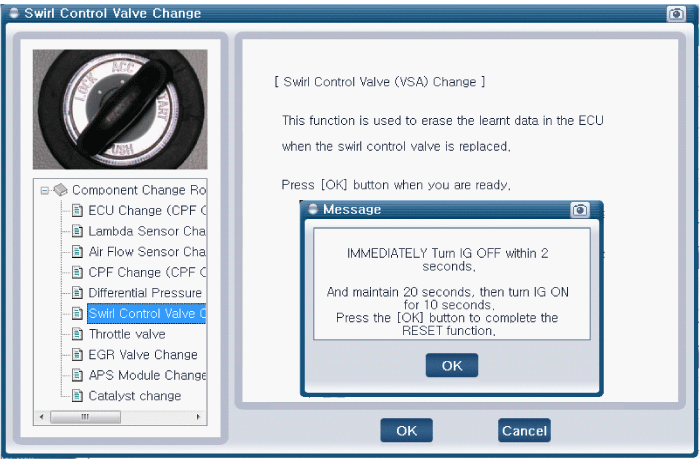
After replacing the Variable Swirl Actuator, MUST perform the "Component Change Routine" procedure. Otherwise trouble related with engine performance or emission control may occur until ECM learning about the component is over.
Turn the ignition switch OFF.
Connect the GDS to Data Link Connector (DLC).
Turn the ignition switch ON.
Select "Vehicle, Model year, Engine, System".
Select "Vehicle S/W Management".
Select "Component Change Routine".
Select "Lambda Sensor Change".
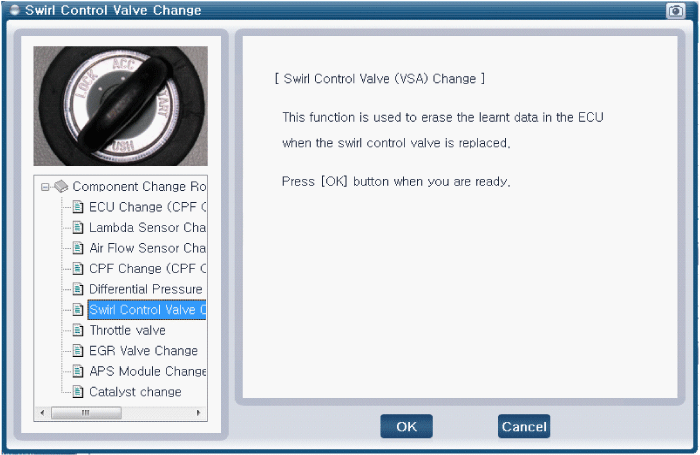
Turn the ignition switch OFF and Turn the ignition switch ON again in 20 seconds.
