2.
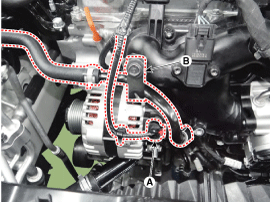
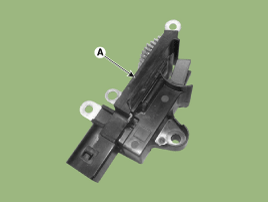
Disconnect the alternator "B" terminal (A) after loosening the mounting nut.

Turn ignition switch OFF and disconnect the battery negative (-) battery.
Disconnect the alternator "B" terminal (A) after loosening the mounting nut.
Disconnect the alternator connector (A).
Release the coolant hose bracket (B) after loosening the mounting bolt.
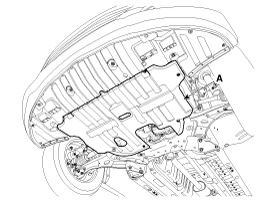
Lift the vehicle.
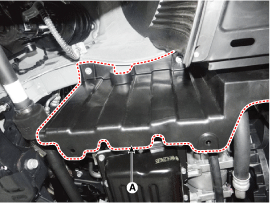
Remove the engine room under cover (A) after loosening the mounting bolts.
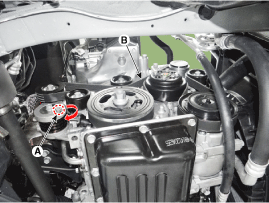
Remove the side cover RH (A) after loosening the mounting bolts.
Using a hexagon wrench, loosen the tensioner (A) by turning it clockwise.
Remove the drive belt (B).
Remove the pully (A) after loosening the mounting bolt.
Remove the alternator mounting bracket (B) after loosening the lower mounting bolts.
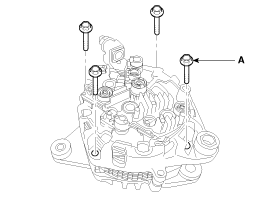
Remove the alternator mounting upper bolt (C).
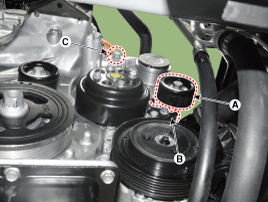
Remove the alternator (A).

Install in the reverse order of removal.
Adjust the alternator belt tension after installation.
(Refer to Engine Mechanical System - "Drive Belt")
Install the alternator.
Alternator upper mounting bolt:
29.4-41.2 Nm (3.0-4.2 kgf.m, 21.7-30.4 Ib-ft)
Alternator lower mounting bolt:
21.6-32.4 Nm (2.2-3.3 kgf.m, 15.9-23.8 Ib-ft)
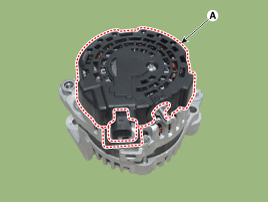
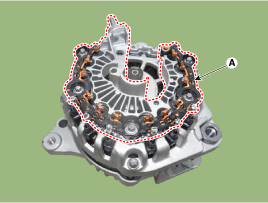
Remove the rear cover (A).
Remove the after loosening the mounting bolts.
When removing, be careful that other parts are not damaged.
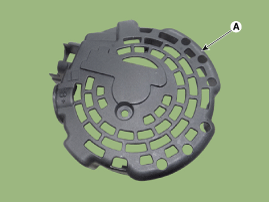
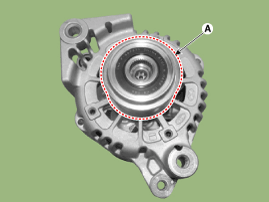
Remove the OAP cap (A).
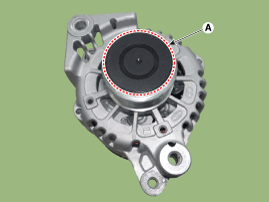
When installing, replace with new OAP cap.
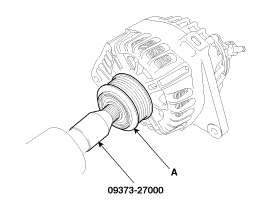
Using the SST (09373-27000), remove the OAP pulley (A).
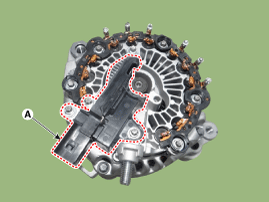
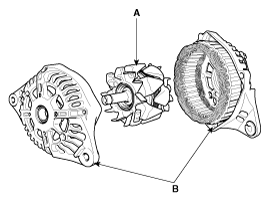
Remove the rectifier assembly (A) after disconnecting the stator leads.
Loosen the through bolts (A).
Disconnect the rotor (A) and housing (B).
Reassemble in the reverse order of disassembly.
When reassembling OAP pulley, replace with new OAP cap.
Check for continuity between the slip rings (C).
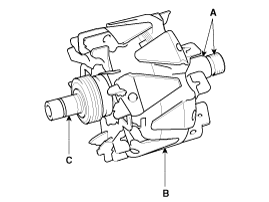
Check that there is no continuity between the slip rings and the rotor (B) or rotor shaft (A).
If the rotor fails either continuity checks, replace the alternator.
Check that there is continuity between each pair of leads (A).
Check that there is no continuity between each lead and the coil core.
If the coil fails either continuity checks, replace the alternator.
