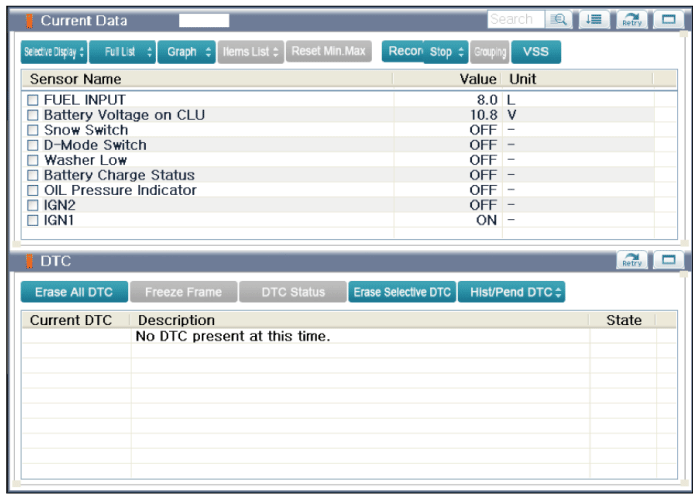
Check point (Warning indicator)
NO | Ref Symbol | Color | Name | Signal Input | Signal Control (Unit / Sensor) | Check Point |
1 |  | Green | Turn Left | C-CAN | BCM | 1. CAN line failure |
2 |  | Green | Turn Right | C-CAN | ||
3 | 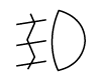 | Green | Front Fog | C-CAN | BCM | 1. CAN line failure |
4 |  | Yellow | Rear Fog | C-CAN | BCM | 1. CAN line failure |
5 |  | Blue | High Beam | C-CAN | BCM | 1. CAN line failure |
6 | 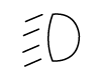 | Green | Low Beam | C-CAN | BCM | 1. CAN Line failure |
7 | 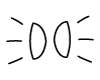 | Green | Tail Lamp | C-CAN | BCM | 1. CAN Line failure |
8 |  | Green | Cruise | C-CAN | EMS | 1. CAN line failure |
9 |  | Green | SET | C-CAN | EMS | 1. CAN line failure |
10 | 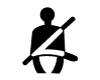 | Red | Seat Belt | C-CAN | BCM | 1. CAN line failure |
11 |  | Red | Air Bag | C-CAN | ACU | 1. CAN line failure |
12 |  | Yellow | Trunk Open | C-CAN | BCM | 1. CAN line failure |
13 |  | Red | Door Open | C-CAN | BCM | 1. CAN line failure |
14 | 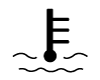 | Red | High Temperature (SVC only) | C-CAN | EMS | 1. CAN line failure |
15 | 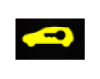 | Yellow | Immobilizer | C-CAN Hardwire | SMK | 1. CAN line failure 2. Wiring failure |
16 | 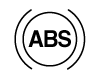 | Yellow | ABS | C-CAN | ESC | 1. CAN line failure |
17 |  | Red | Key out (STD only) | C-CAN | SMK | 1. CAN line failure |
8 | 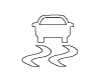 | Yellow | ESC | C-CAN | ESC | 1. CAN line failure |
19 | 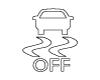 | Yellow | ESC OFF | C-CAN | ESC | 1. CAN line failure |
20 | 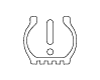 | Yellow | TPMS (Tread & Fail) | C-CAN | TPMS | 1. CAN line failure |
21 | 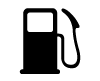 | Yellow | Fuel Low | Hardwire | Fuel Sender | 1. Fuel sender failure 2. Wiring failure |
22 |  | Red | Parking Brake | C-CAN | BCM TCS EPB | 1. CAN line failure |
23 | 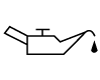 | Red | Oil Pressure | Hardwire | Oil Pressure Sensor | 1. Wiring failure |
24 |  | Yellow | Check fuel cap | C-CAN | EMS | 1. CAN line failure |
25 |  | Red | Battery Charge | Hardwire | Battery Sensor | 1. Wiring failure |
26 |  | Yellow | Check Engine | C-CAN | EMS | 1. CAN line failure |
27 |  | Yellow | Low Washer | Hardwire | Water Level Sensor | 1. Wiring failure |
28 |  | Green | Active ECO | Hardwire | ECO ON/OFF Switch | 1. Switch failure 2. Wiring failure |
29 |  | Yellow | Panorama sunroof open | Hardwire | Panorama sunroof switch | 1. Wiring failure |
30 |  | Red | MDPS | C-CAN | MDPS | 1. MDPS unit failure 2. CAN line failure |
31 |  | Green | Auto Stop | C-CAN | EMS | 1. CAN line failure |
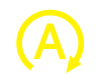 | Yellow | Auto Stop | C-CAN | EMS | 1. CAN line failure | |
32 |  | White | Normal | C-CAN | MDPS | 1. CAN line failure |
33 |  | Amber | Sport | C-CAN | MDPS | 1. CAN line failure |
34 |  | Green | Comfort | C-CAN | MDPS | 1. CAN line failure |