Perform the test in accordance with the message.
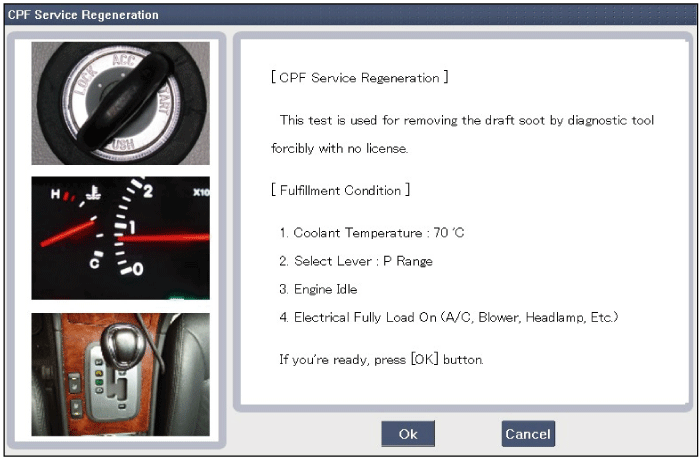
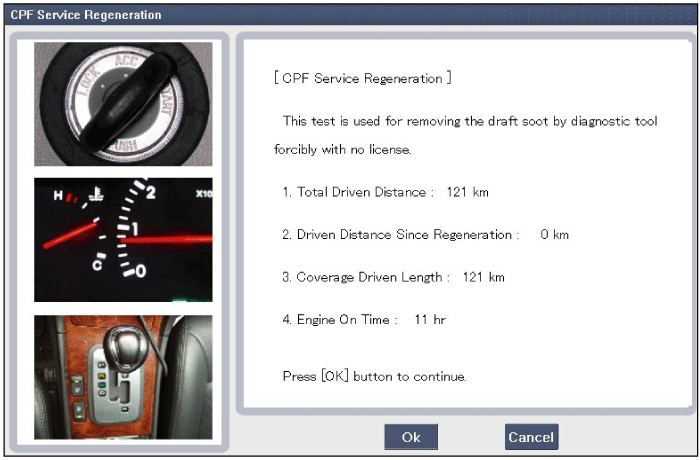
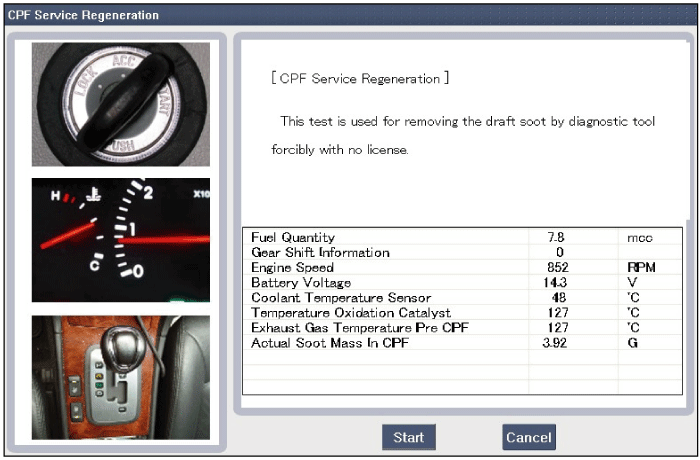
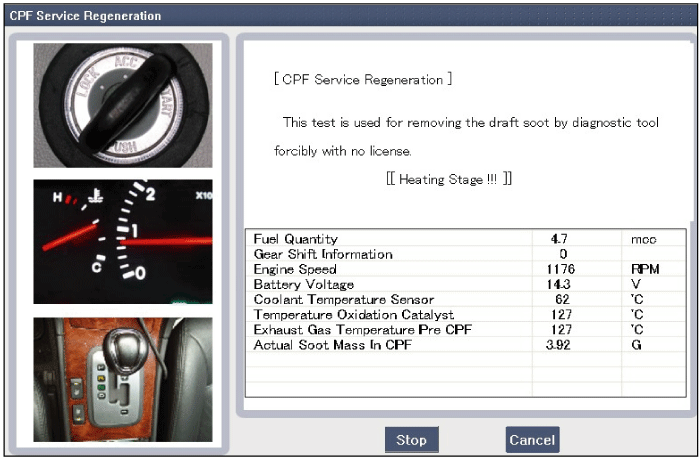
If the fulfillment condition is not satisfied, DPF regeneration test will fail.
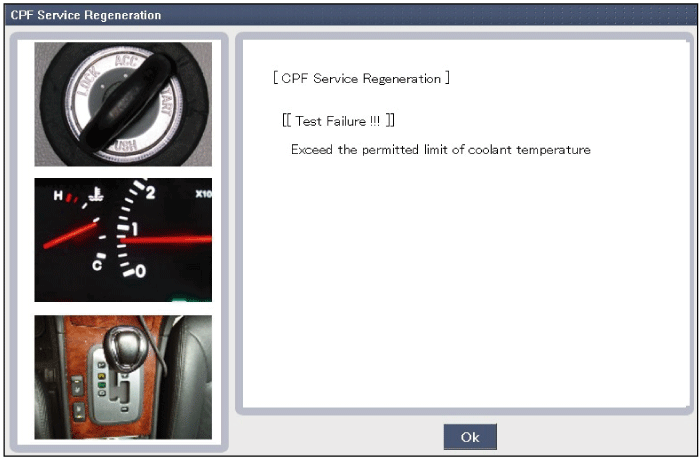
This procedures is to forcibly regenerate the DPF with scan tool when the DPF doesn't have been regenerated during driving. For example, if the vehicle has repeated "Low speed driving" or "Short distance driving", the DPF regeneration procedure cannot be proceeded because "Regeneration Mode" doesn't made.
If performing the DPF service regeneration mode indoors, fire or burn injuries may occur by high-temperature exhaust gas.
Therefore the DPF service regeneration mode must be performed in a outdoor safe zone.
Engine coolant temperature: about 70℃
Engine at idle
P-range (A/T) or Neutral (M/T)
Normal battery voltage
Electrical fully load ON (A/C ON if equipped, Blower ON with maximum speed, Head Lamp ON, Wiper ON, Other Lamps ON, etc.)
The air conditioner's electrical load is very high. Accordingly, to make regeneration mode more quickly, turn it ON (If eqquipped).
Turn ignition switch OFF.
Connect a GDS to Data Link Connector (DLC).
Start engine at idle and P-range (A/T) or neutral (M/T).
Apply electrical fully load to the vehicle (A/C ON, Blower ON with maximum speed, Head Lamp ON, Wiper ON, and Other Lamps ON, etc.)
Select "Vehicle, Model year, Engine, System".
Select "Vehicle S/W Management".
Select "DPF Service Regeneration".
Perform the test in accordance with the message.


If the fulfillment condition is not satisfied, DPF regeneration test will fail.

Remove the engine cover.
Disconnect the battery negative terminal.
Disconnect the wiring connectors and harness clamps and remove the wiring protector around the exhaust manifold.
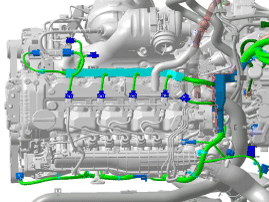
Disconnect the air cleaner assembly.
(Refer to Intake and Exhaust System - "Air Cleaner")
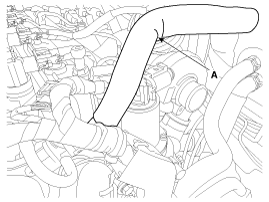
Disconnect the brake booster vacuum hose (A).
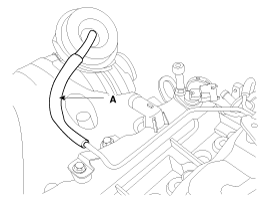
Disconnect turbo charger actuator vacuum hose (A).
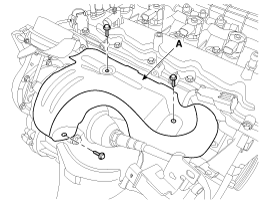
Remove the heat protector (A).
Tightening torque :
14.7 ~ 19.6 N.m (1.5 ~ 2.0 kgf.m, 10.8 ~ 14.5 lb-ft)
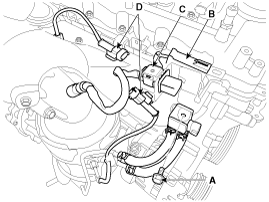
Disconnect the glow plug connector (A), the exhaust gas temperature sensor connector (B), the lambda sensor (C) and the difference pressure sensor (D) from the bracket.
Remove the front muffler.
(Refer to Intake and Exhaust System - "Muffler")
Remove the engine room under cover.
(Refer to Engine And Transaxle Assembly - “Engine Room Under Cover”)
Remove the intercooler inlet hose & pipe.
(Refer to Intake And Exhaust System - “Intercooler”)
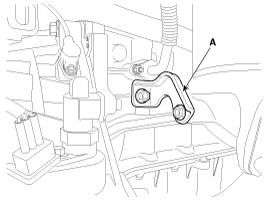
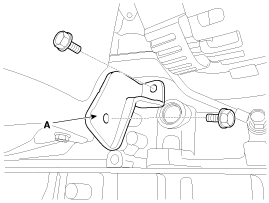
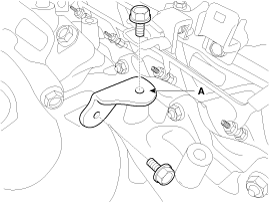
Remove the DPF (or WCC) converter brackets (A).
Tightening torque :
49.0 ~ 63.7 N.m (5.0 ~ 6.5 kgf.m, 36.2 ~ 47.0 lb-ft)
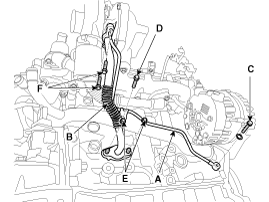
Remove the turbocharger oil feed pipe (A) and drain pipe (B).
Tightening torque
Bolt (C) :
13.7 ~ 18.6 N.m (1.4 ~ 1.9 kgf.m, 10.1 ~ 13.7 lb-ft)
Bolt (D) :
7.8 ~ 9.8 N.m (0.8 ~ 1.0 kgf.m, 5.8 ~ 7.2 lb-ft)
Nuts (E) :
14.7 ~ 19.6 N.m (1.5 ~ 2.0 kgf.m, 10.9 ~ 14.5 lb-ft)
Bolts (F) :
9.8 ~ 14.7 N.m (1.0 ~ 1.5 kgf.m, 7.2 ~ 10.9 lb-ft)
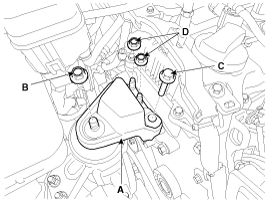
Remove the engine mounting support bracket (A).
Tightening torque
Nut (B) :
78.5 ~ 98.1 N.m (8.0 ~ 10.0 kgf.m, 57.9 ~ 72.3 lb-ft)
Bolt (C), Nut (D) :
58.8 ~ 73.5 N.m (6.0 ~ 7.5 kgf.m, 43.4 ~ 54.2 lb-ft)
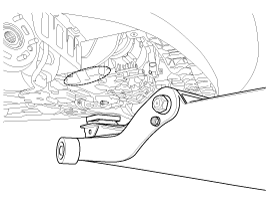
Lower the slightly using the jack to obtain space for removing the DPF converter.
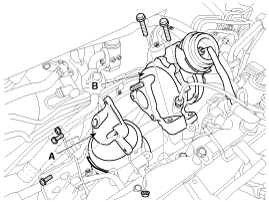
Detach the DPF converter (A) from the turbocharger and the remove the turbocharger (B).
Tightening torque
DPF converter :
49.0 ~ 63.7 N.m (5.0 ~ 6.5 kgf.m, 36.2 ~ 47.0 lb-ft)
Turbocharger :
44.1 ~ 49.0 N.m (4.5 ~ 5.0 kgf.m, 32.5 ~ 36.2 lb-ft)
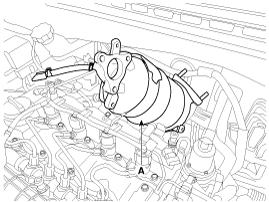
Remove the DPF converter (A).
Install in the reverse order of removal.
Installation is reverse of removal.
After replacing the DPF assembly, MUST perform the "Component Change Routine" procedure. Otherwise trouble related with engine performance or emission control may occur until ECM learning about the component is over.
Turn ignition switch OFF.
Connect a scan tool to Data Link Connector (DLC).
Turn ignition switch ON.
Select "Vehicle, Model year, Engine, System".
Select "Vehicle S/W Management".
Select "Component Change Routine".
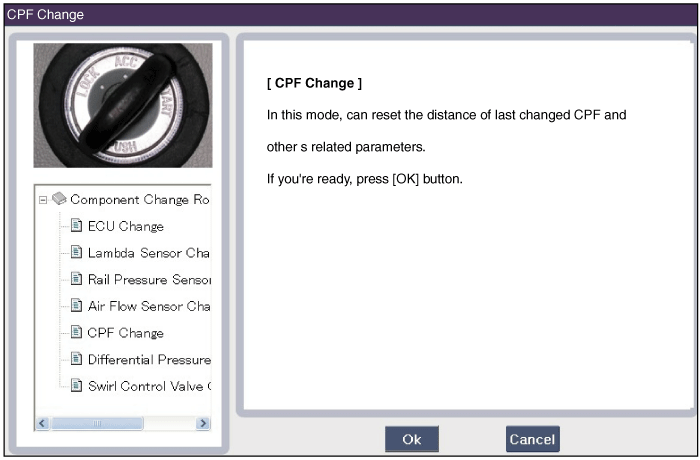
Select "CPF Change".
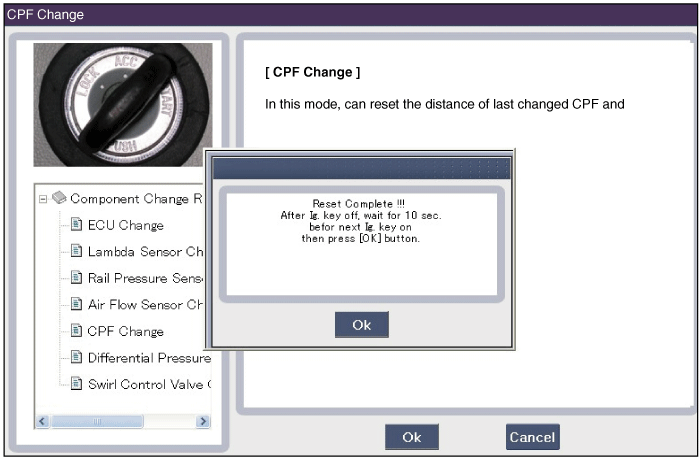
Perform the procedure in accordance with the message.
