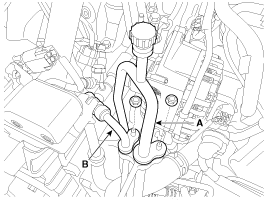
Remove the 2 nuts, and then disconnect the discharge line (A) and liquid line (B) from the condenser.
Tightening torque :
4.9 ~ 7.8 N.m (0.5 ~ 0.8 kgf.m, 3.6 ~ 5.7 lb-ft)
Recover the refrigerant with a recovery/recycling/charging station.
Disconnect the negative (-) battery terminal.
Remove the front bumper.
(Refer to Body - "Front Bumper Cover")
Remove the head lamps.
(Refer to Body Electrical System - "Head Lamps")
Remove the 2 nuts, and then disconnect the discharge line (A) and liquid line (B) from the condenser.
Tightening torque :
4.9 ~ 7.8 N.m (0.5 ~ 0.8 kgf.m, 3.6 ~ 5.7 lb-ft)

Remove the radiator reservoir tank hose mounting clip (A).
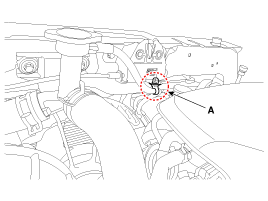
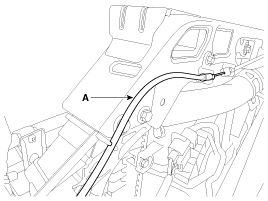
Remove the hood latch release handle cable (A).
Loosen the mounting bolts and then remove the radiator upper bracket (A).
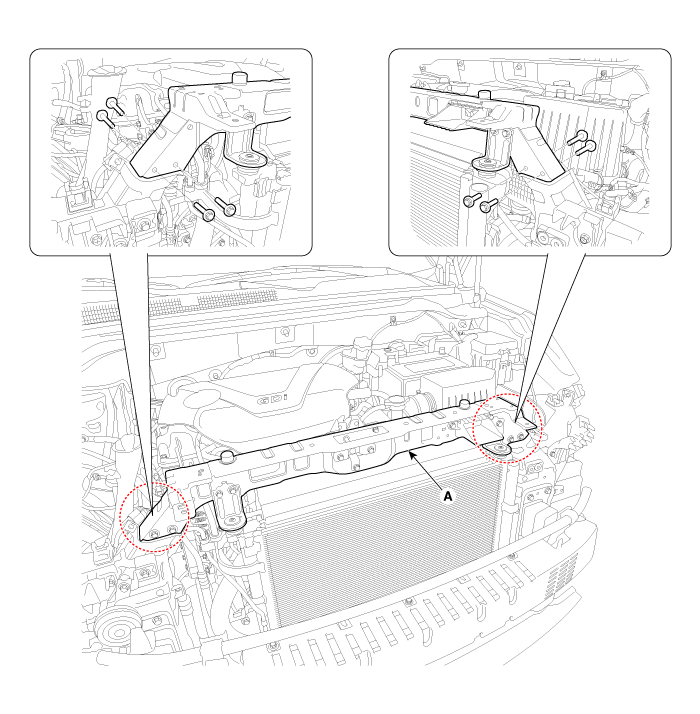
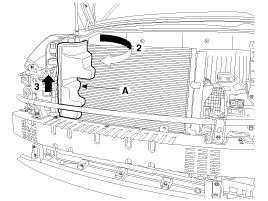
Make a gap for removing the side air guard by moving the condenser and radiator (A) back.
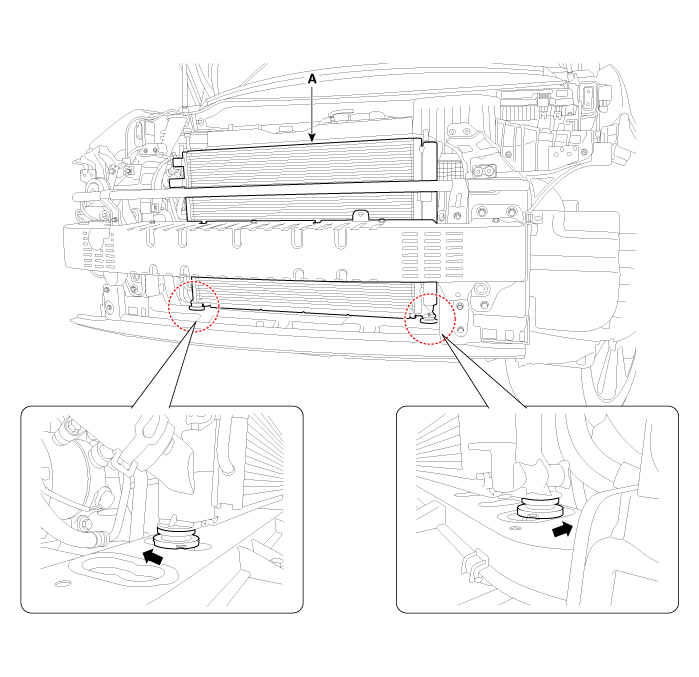
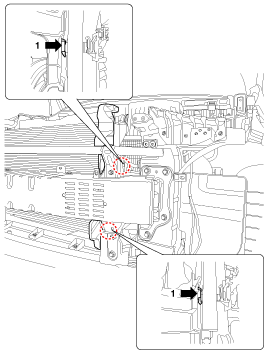
Remove the side air guard (A) by pulling it upwards.
[LH]
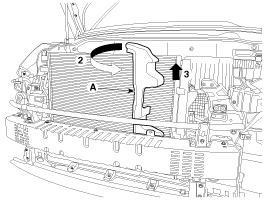
[RH]
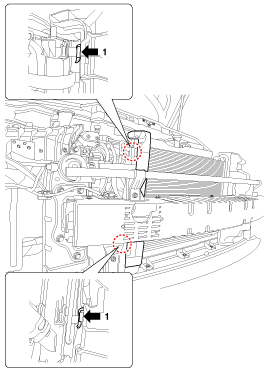
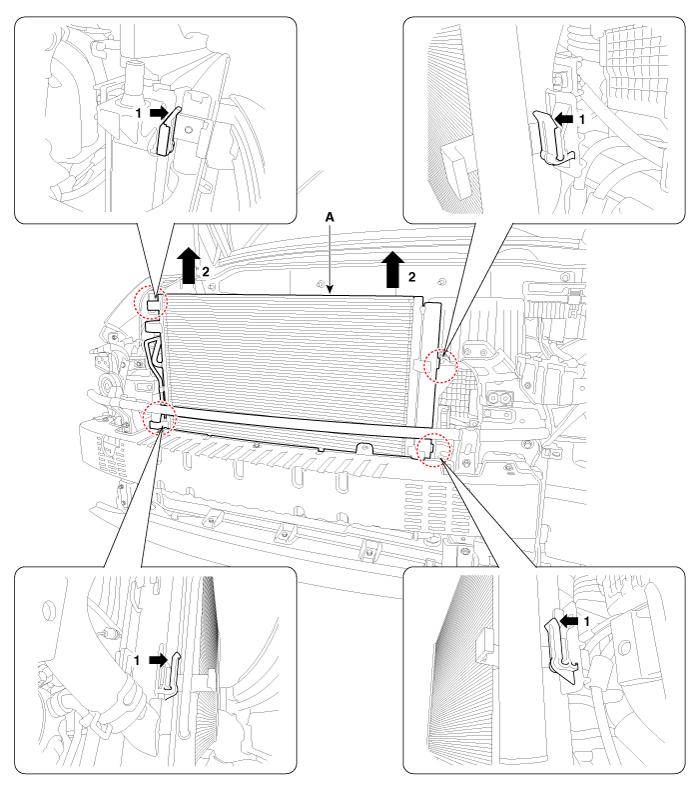
Remove the condenser (A) from radiator.
Install in the reverse order of removal.
If you're installing a new condenser, add refrigerant oil.
Replace the O-rings with new ones at each fitting, and apply a thin coat of refrigerant oil before installing them. Be sure to use the right O-rings for R-134a to avoid leakage.
Be careful not to damage the radiator and condenser fins when installing the condenser.
Charge the system, and test its performance.