Valve Lift Variation Adjustment

After replacing cylinder head assembly or any part causing a lot of the valve lift variation, check the valve lift variation values using a GDS.

If the valve lift variation value is greater than the specification, adjust valve lift using the CVVL adjusting screw.

1.

Perform the automatic learning for CVVL valve lift adaptation values.

(Refer to Engine and Transaxle Assembly – “Learning for CVVL valve lift adaptation values”)

2.

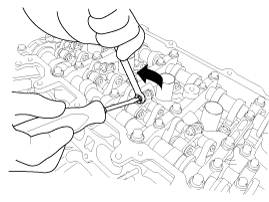
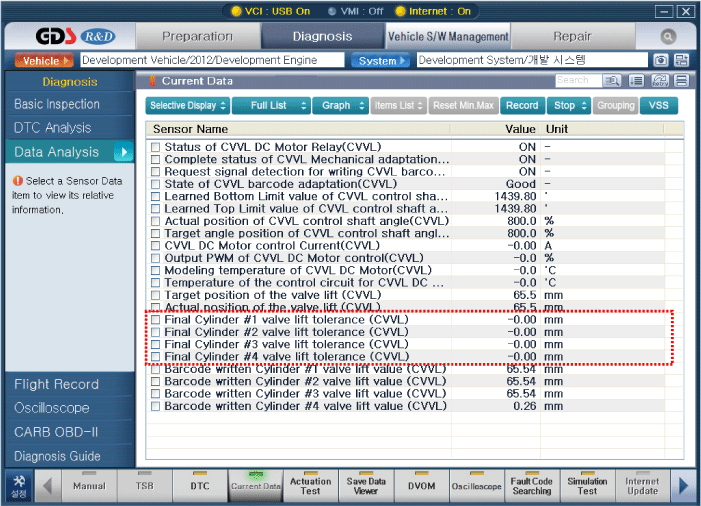
Check the valve lift variation values per each cylinder on the sensor data in GDS.

Valve lift variation value : 0.1 mm (0.0039 in)

note

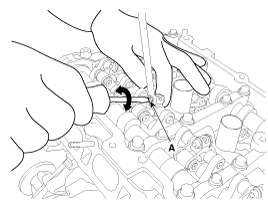
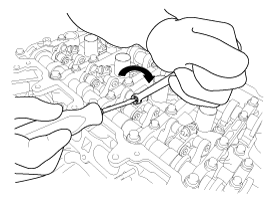
After checking the valve lift variation values, if the valve lift variation value is greater than the specification, adjust valve lift. Also after completing the replacement, recheck the valve lift variation values.

Especially replacement of the intake camshaft and intake valve can increase the valve lift deviation. Thus adjust and recheck the valve lift in order to reduce the valve lift variation values within the specification. (approx. 3 times)

3.

Select the valve lift adjusting angle per each cylinder depending on the valve lift variation values displayed on GDS using below table.

Adjusting Angle

(Clockwise)

90˚

180˚

270˚

360˚

450˚

540˚

Lift Variance

(mm(in))

0(0)

0.05(0.0020)

0.10(0.0039)

0.15(0.0059)

0.20(0.0079)

0.25(0.0098)

0.30(0.0118)

Adjusting Angle

(Counter-clockwise)

90˚

180˚

270˚

360˚

450˚

540˚

Lift Variance

(mm(in))

0

-0.05

(-0.0020)

-0.10

(-0.0039)

-0.15

(-0.0059)

-0.20

(-0.0079)

-0.25

(-0.0098)

-0.30

(-0.0118)

Example)

3rd cylinder valve lift variation value is 0.2 mm (0.0079 in) : Turn the adjusting screw 360˚ counter-clockwise to reduce valve lift

3rd cylinder valve lift variation value is -0.2 mm (-0.0079 in) : Turn the adjusting screw 360˚ clockwise to increase valve lift

note

Never turn the adjusting screw of each cylinder more than 540˚ clockwise or counter-clockwise.

Especially never turn the adjusting screw of 1st cylinder more than 180˚ clockwise or more than 540˚ counter-clockwise.

caution

Turn the adjusting screw every 90˚.

Turning the adjusting screw clockwise increases valve lift and turning the adjusting screw counter-clockwise reduces valve lift.

4.

Remove the cylinder head cover. (Refer to Timing System)

5.

Slightly loosen the nut using a ring wrench while holding the adjusting screw using a flat-head driver.

caution

When loosening the nut, hold the adjusting screw using a flat-head driver to prevent the adjusting screw from turning along with the nut.

6.

Turn the adjusting screw (A) clockwise or counter-clockwise according to the valve lift variance.

caution

When turning the adjusting screw, support the back of the screw with a finger to prevent from moving back.

7.

Pre-tighten the nut using a ring wrench while holding the adjusting screw using a flat-head driver.

caution

When tightening the nut, hold the adjusting screw using a flat-head driver to prevent the adjusting screw from turning along with the nut.

8.

Tighten the nut with a torque wrench while holding the back of the screw with a ring wrench.

Tightening torque :

9.8 ~ 11.8N.m (1.0 ~ 1.2kgf.m, 7.2 ~ 8.7lb-ft)

caution

When tightening the nut, hold the back of the screw using a ring wrench to prevent the adjusting screw from turning along with the nut.

9.

Install the cylinder head cover. (Refer to Timing System)

10.

After completing the vehicle assembling, perform the automatic learning for CVVL valve lift adaptation values using a GDS then recheck the valve lift variation values. If the valve lift values are greater than the specification, adjust the valve lift variation again.

Яндекс.Метрика