Fill the gear oil.
Specified lubricant
Hypoid ger oil (API GL-5, SAE 75W/90)
Oil quantity: Fill the reservoir to the plug hold (About 0.7L)
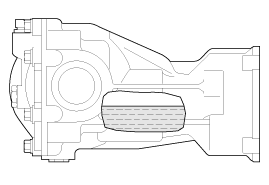
Fill the gear oil.
Specified lubricant
Hypoid ger oil (API GL-5, SAE 75W/90)
Oil quantity: Fill the reservoir to the plug hold (About 0.7L)

Remove the rear drive shaft.
Remove the propeller shaft.
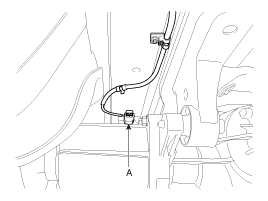
Disconnect the coupling control connector (A).
Support the differential assembly (A) with the jack(B).
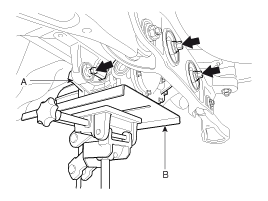
After loosen the cover bolts and remove thedifferential cover(B).
Tightening torque :
39.2~49.0N.m(4.0~5.0Kgf.m, 28.9~36.1lb.ft)
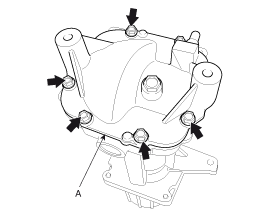
Installation is the reverse of the removal procedures.
Drain off oil from Rear differential carrier.
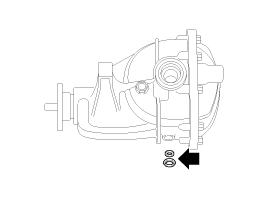
Loosen the mounting bolts and then remove the cover.
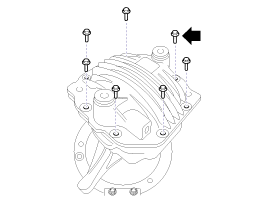
Before disassembling differential case assembly, paint match marks on one side of the bearing cap.
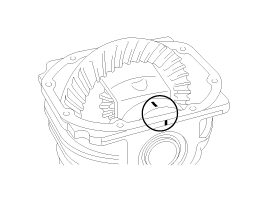
Loosen the bearing cap bolts and then remove the bearing cap.
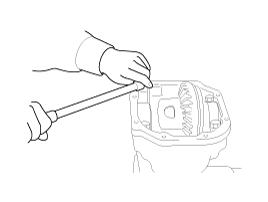
Disassemble the differential case assembly.
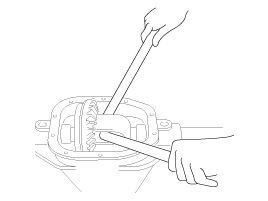
Mark as below removing the differential case assembly not to be changed with the left/right side of bearing race.
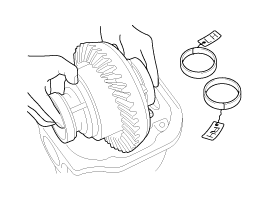
Remove the bearing not to be dameged after setting the bearing remover at the discape hole.
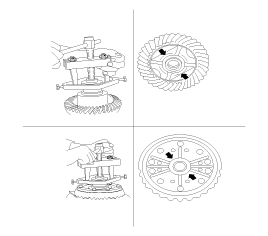
Be careful to confuse left and right side bearing.
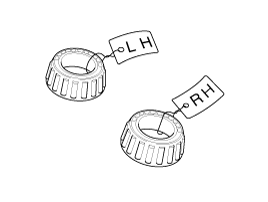
Loosen the ring gear bolt and then remove the drive gear.
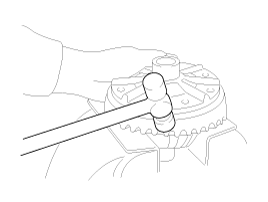
Tap drive gear off the differential case with a soft hammer.
Drive out pinion mate shaft lock pin with punch from drive gear side.
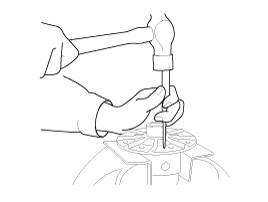
Remove the pinion mate shaft.
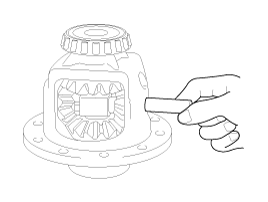
Remove the side gears, pinion mate gears, side gear thrust washers, pinion mate thrust washers from differential case.
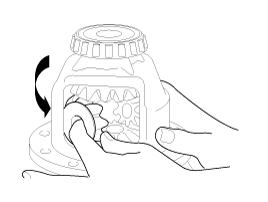
Loosen the drive pinion locking nut.
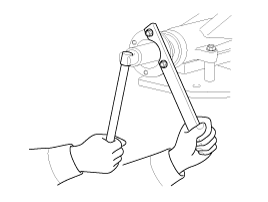
Using the press, take out drive pinion (together with pinion rear bearing inner race, pinion bearing adjusting spacer) and then remove the companion flange.
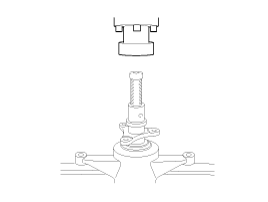
Using the press, remove the pinion rear bearing.
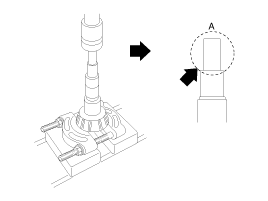
Do not damage the pinion shaft(A).
Using the screwdriver, remove the front oil seal.
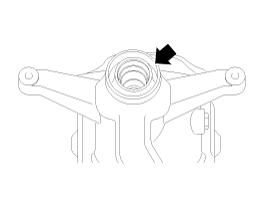
Usint the screwdriver, removt the side oil seal.
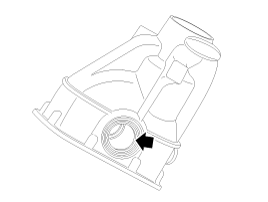
Using the press and tool, press -fit pinion front and rear bearing outer races.
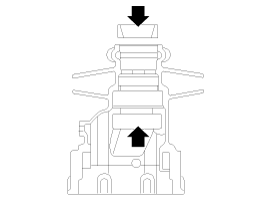
Install selected pinion height adjusting shim in drive pinion gear. Using the press and tool, press -fit pinion rear bearing inner race into it.
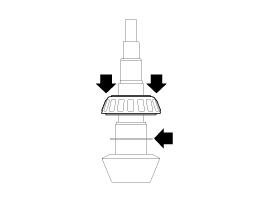
Install the pinion bearing adjusting spacer to the drive pinion.
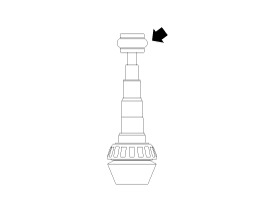
Will have to use from new spacer.
Using the press and tool, press -fit pinion front braring inner race.
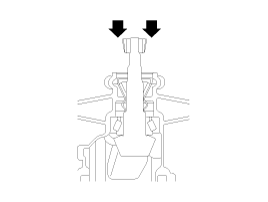
The pressure do not exceed 5ton.
Using the press and tool, press -fit front ol seal.
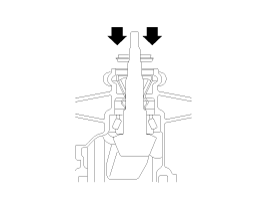
Using press and tool, press - fit companion flange.
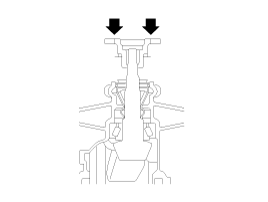
The pressure do not exceed 5ton.
Install the drive pinion nut to make that the bearing freeload is standard.
Pinion bearing preload :
1.13 ~ 1.62Nm (0.115 ~ 0.165kgf.m, 0.83 ~ 1.2lb-ft)
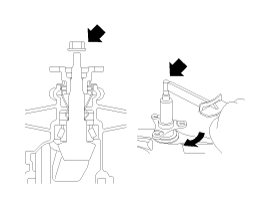
The drive pinion nut is not reusable.
Install differential case assembly with side bearing outer races into differential carrier.

Align mark on bearing cap with that on differential carrier and then istall the bearing cap.
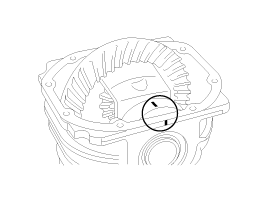
If backlash is too small and too big, adjustment of side bearing adjusting washer thickness is required.
Measure drive gear-to-drive pinion backlash with a dial indicator at several point.
Standard :0.10~0.15mm
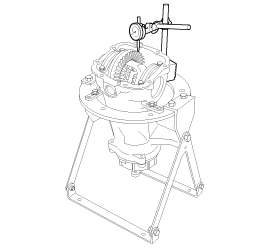
Thickness of the diff shim need to adjusted if backrash is small. Lessen the thickness of the left side diff shim. By contraries enlarge the thickness of the right side diff shim that much.
Apply liquid sealant to differential carrier.
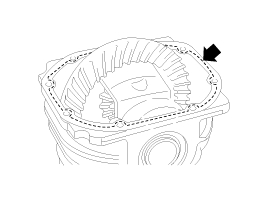
Install rear cover and tighten cover bolts.
Tightening torque :
39.2~49.0Nm (4.0~5.0kgf.m, 28.9~39.1lb-ft)

Using the press and tool, press -fit side oil seals.
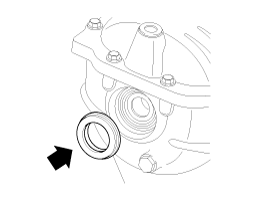
Install the drain plug and filler plug.
Pillar plug : 49.0 ~ 68.6Nm (5.0 ~ 7.0kgf.m, 36.1 ~ 50.6lb-ft)
Drain plug : 39.2 ~ 58.8Nm (4.0 ~ 6.0kgf.m, 28.9 ~ 43.3lb-ft)
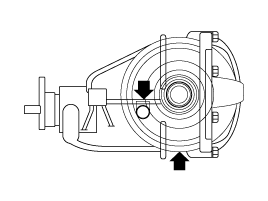
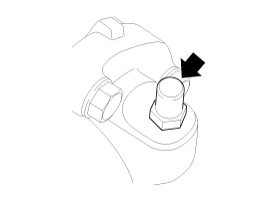
Install the air breather.
Tightening torque :
9.8~19.6Nm (1.0~2.0kgf.m, 7.2~14.4lb-ft)
Check the tooth contact pattern.
Tooth contact | Contact state | Solution | |
Standard contact | 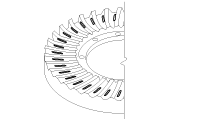 |
|
|
1. Heel contact | 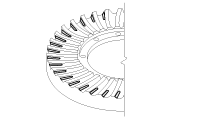 | Increase the thickness of the pinion height adjusting shim, and position the drive pinion closer to the center of the drive gear. Also, for backlash adjustment, reposition the drive gear further from the drive pinion. | 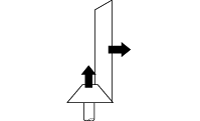 |
2. Face contact | 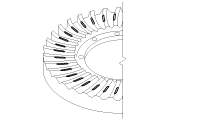 | ||
3. Toe contact | 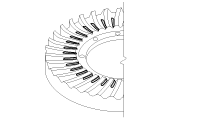 | Decrease the thickness of the pinion height adjusting shim, and position the drive pinion further from the center of the drive gear. Also, for backlash adjustment, reposition the drive gear closer to the drive pinion. | 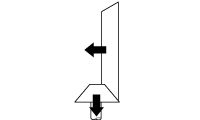 |
4. Flank contact | 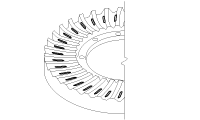 | ||
Tooth contact pattern is a method for judging the result of the adjustmentof drive pinion height and final drive gear backlash. The adjustment of drivepinion height and final drive gear backlash should be repeated until the toothcontact patterns are similar to the standard tooth contact pattern.
When you cannot obtain a correct pattern, the drive gear and drive pinionhave exceeded their limits. Both gears should be replaced as a set.