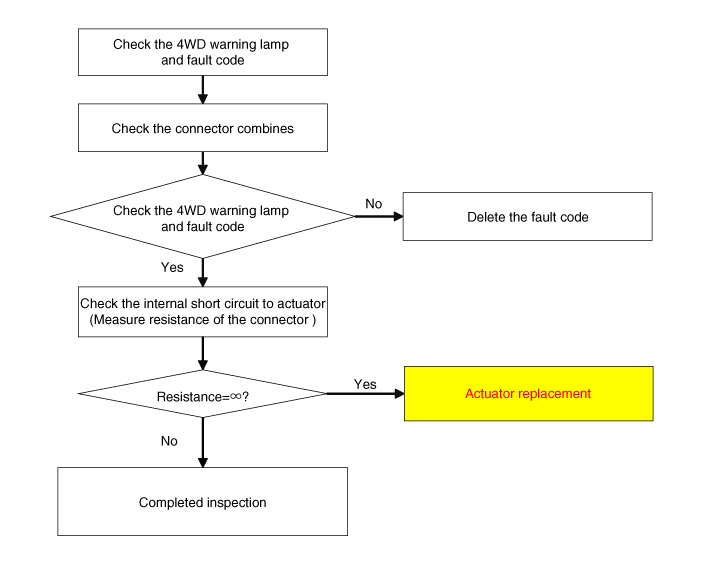
If you have trouble code related to the oil hydraulic motor (actuator), check oil hydraulic motor (actuator) according to the inspection process.
Remove the coupling assembly.
(Refer to Coupling Assembly - " Direct Electro Hydraulic Actuator Coupling")
Keep going perpendicular state after remove the coupling assembly.
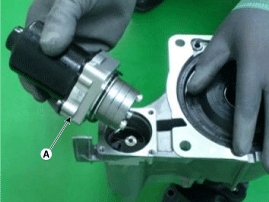
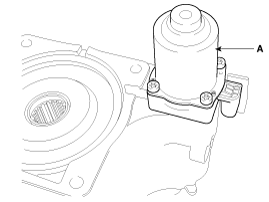
While removing the hydraulic motor from the coulping assembly, make sure that the hydraulic motor keeps being vertical to the level of work table or ground as shown in the image below not to allow the coupling oil to spill out. If the coupling oil spilled out of the hydraulic motor or the coupling assembly, replace the coupling assembly with new one. (We do not recommend to add or change the coupling oil because the coupling oil's spec and fill ratio greatly effect the performance and durability of the coupling assembly.)
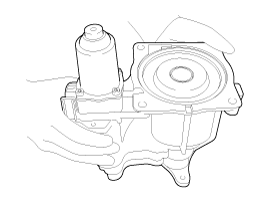
Remove the hydraulic motor (A) after loosening bolts with hex wrench.
Remove the hydraulic motor (actuators) after dropping residual oil as much as possible inside the coupling. (about 5~10 sec)
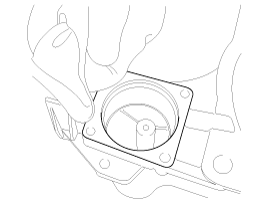
Before installation, wipe the surface with a clean cloth.
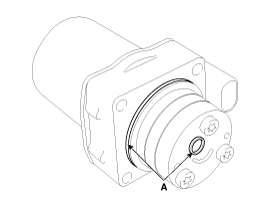
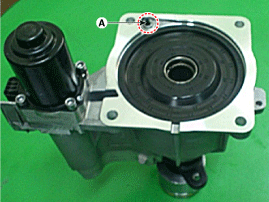
Check the O-rings (A) of the new hydraulic motor (actuators).
You have to prevent any dust from entering inside hydraulic motors (actuators) and housing.
Tighten the bolts after install the hydraulic motor (actuators).
When installing, motor connector has to toward in the direction of outside of the Coupling.
Tightening torque:
8.8 ~ 10.8 N.m (0.9 ~ 1.1 kgf.m, 6.5 ~ 8.0 lb-ft)
When installing, oil can be reflux by the pressure in air breather hole.
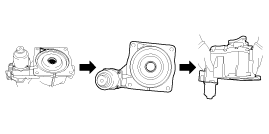
Change direction in the direction of the arrow and lay on the floor as shown in the illustration.
※ The reflux oil will flow to the bottom.
You have to prevent additional backflow in according to order as shown in the illustration.
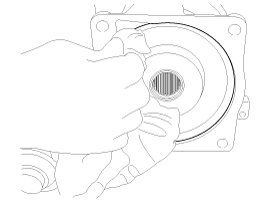
Wipe the flowed oil to around the surface with a clean cloth.
Install the coupling assembly.
(Refer to Coupling Assembly - " Direct Electro Hydraulic Actuator Coupling")