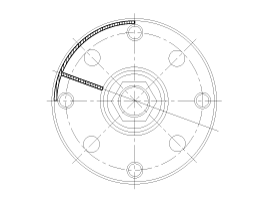
Remove the propeller shaft (A).
Tightening torque :
49.0~68.6N.m (5.0~7.0kgf.m, 36.2~50.6lb-ft)
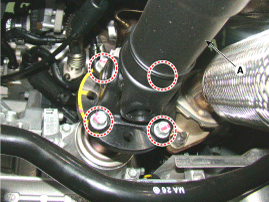
It is not recommended to overhaul the transfer assembly because a special three-dimensional measuring instrument is required to determine the sizes of the transfer assembly spacers when disassembling and reassembling the transfer assembly. If putting wrong sized spacers in the transfer assembly, it may cause noise and vibration.So, if inner parts of the transfer assembly need to be replaced, the transfer assembly should be replaced with new one.
Remove the following items;
Sub frame assembly (Only diesel 2.0 / 2.2, gasoline 3.5)
(Refer to Suspension System - "Sub Frame")
Front muffler. (Only gasoline 3.5)
(Refer to Engine Mechanical System - " Front Muffler ")
Drive shaft assembly.
(Refer to Driveshaft and axle - "Front Driveshaft ")
Remove the propeller shaft (A).
Tightening torque :
49.0~68.6N.m (5.0~7.0kgf.m, 36.2~50.6lb-ft)

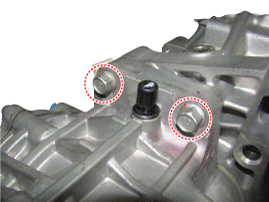
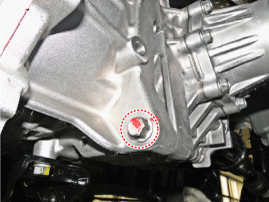
Loosen the transfer upper & lower mounting bolts. (transfer side → transaxle side)
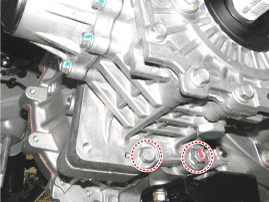
Loosen the transfer lower mounting blot. (transaxle side → transfer side)
Install in the reverse order of removal.
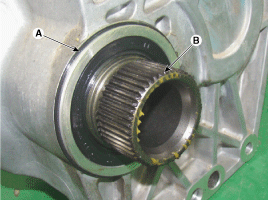
Be careful not to damage the O-ring (A). If the O-ring is damaged, replace with a new one.
Smear and cover splines (B) with molybdenum type high pressure grease.
TECHLUBE MEGAMAX - ALPHA or equivalent
Install the propeller shaft to be near runout marking (Transfer assembly 1ea, propeller shaft 1ea) each other.
