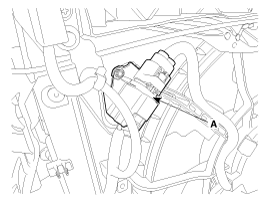
Disconnect the fan motor connector (A).
Disconnect the battery "-" terminal.
Remove the air cleaner assembly.
(Refer to Intake And Exhaust System-"Air Cleaner")
Remove the engine room under cover.
Remove the front bumper cover.
(Refer to Body-"Front Bumper Cover")
Disconnect the fan motor connector (A).

Remove the air intake shield(A).
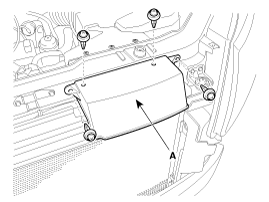
Remove the upper air guard (A).
Tightening torque :
2.75 ~ 3.24 N.m (0.28 ~ 0.33 kgf.m, 2.0 ~ 2.3 lb-ft)
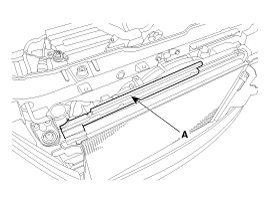
Remove the horn.
(Refer to Body Electrical System - "Horn")
Remove the side air guard (A).
Tightening toraue :
7.8 ~ 11.8 N.m (0.8 ~ 1.2 Kgf.m, 5.8 ~ 8.7 Ib-ft)
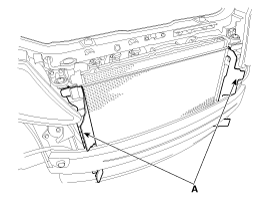
Loosen the cooling fan mounting bolts (B) and then disconnect the cooling fan assembly (A) from radiator.
Tightening torque :
4.91 ~ 7.85 N.m (0.5 ~ 0.8 kgf.m, 3.6 ~ 5.8 lb-ft)
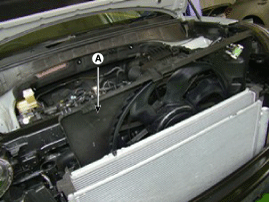
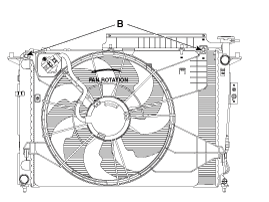
Install in the reverse order of removal.
Disconnect the wire harness connector (A) and fan motor connector (B).
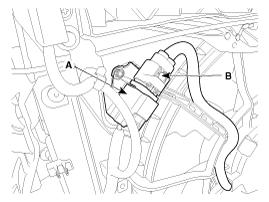
Remove the resister (A) from the cooling fan shroud.
Tightening toraue :
2.8 ~ 3.2 N.m (0.29 ~ 0.32 kgf.m, 2.1 ~ 2.3 lb-ft)
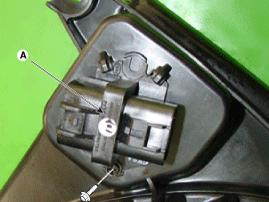
Install in the reverse order of removal.
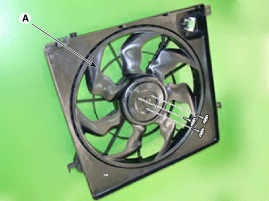
Remove the cooling fan (A) from the cooling fan assembly.
Tightening torque:
2.8 ~ 3.2 N.m (0.29 ~ 0.32 kgf.m, 2.1 ~ 2.3 lb-ft)
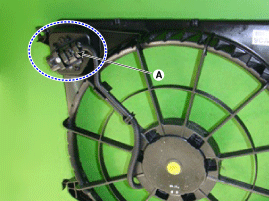
Disconnect the fan motor connector (A) from the resistor.
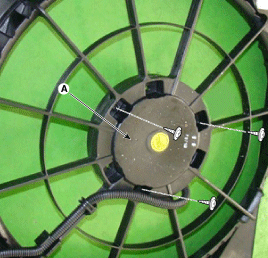
Remove the fan motor (A) from the cooling fan shroud.
Tightening torque:
9.1 ~ 11.2 N.m (0.93 ~ 1.14 kgf.m, 6.73 ~ 8.24 lb-ft)
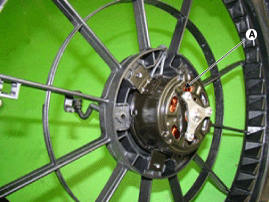
Assemble in the reverse order of disassembly.
Disconnect the fan motor connector from the resistor.
Connect the battery voltage to the "+" terminal and ground to "-" terminal.
Check the cooling fan motor operates well.