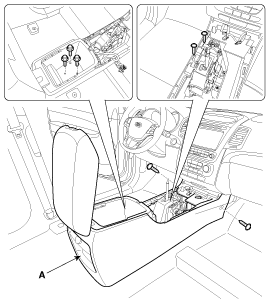
1.
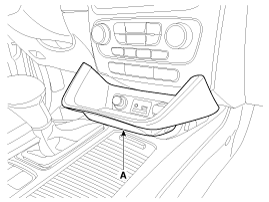
Using a screwdriver or remover, remove the floor console upper tray (A).
Pry the trim off using a plastic trim tool and apply protective tape around the related parts, to prevent damage.
Put on gloves to protect your hands.
Take care not to scratch the body surface.
Using a screwdriver or remover, remove the floor console upper tray (A).
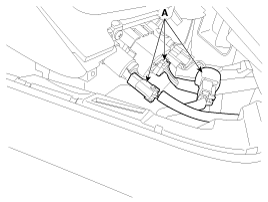
Disconnect the connectors (A).
Remove the gear boots (B) and gear knob (A).

Using a screwdriver or remover, remove the console upper cover (A).
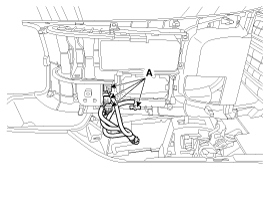
Disconnect the connectors (A).
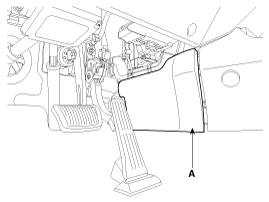
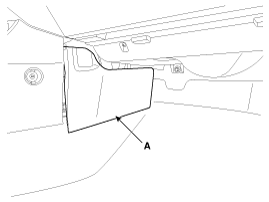
Using a screwdriver or remover, remove the console side cover (A).
[LH]
[RH]
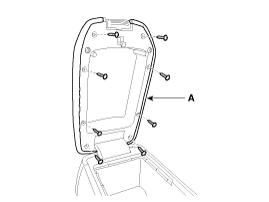
Remove the console armrest tray (A).
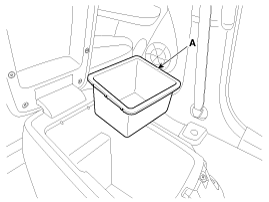
Remove the console tray met (A).
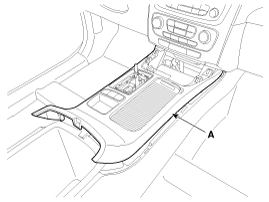
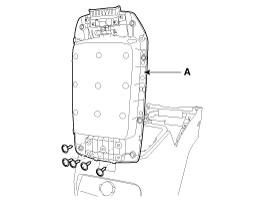
After loosening the mounting screws and bolts, then remove the floor console assembly (A).
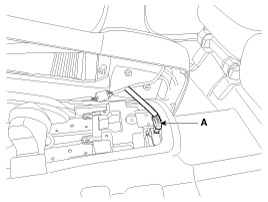
Disconnect the connector (A).
Install in the reverse order of removal.
Make sure the connector is connected properly.
Replace any damaged clips.
Pry the trim off using a plastic trim tool and apply protective tape around the related parts, to prevent damage.
Put on gloves to protect your hands.
Take care not to scratch the body surface.
Using a screwdriver or remover, remove the rear console cover (A).
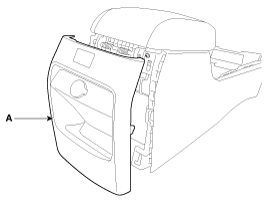
Disconnect the power outlet connector (A).
Install in the reverse order of removal.
Make sure the connector is connected properly.
Replace any damaged clips.
Pry the trim off using a plastic trim tool and apply protective tape around the related parts, to prevent damage.
Put on gloves to protect your hands.
Take care not to scratch the body surface.
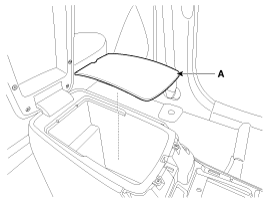
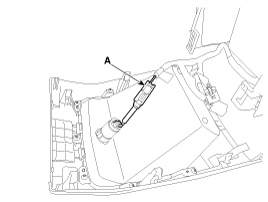
After loosening the mounting screws, then remove the console armrest cover (A).
After loosening the mounting screws, then remove the console armrest (A).
Install in the reverse order of removal.
Replace any damaged clips.
