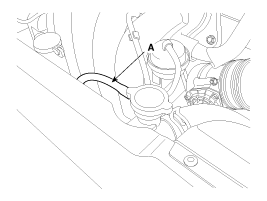
Disconnect the over flow hose (A) from the filler neck.
Disconnect the battery "-" terminal.
Remove the air duct and air cleaner assembly.
(Refer to Intake And Exhaust System - "Air Cleaner)
Disconnect the over flow hose (A) from the filler neck.

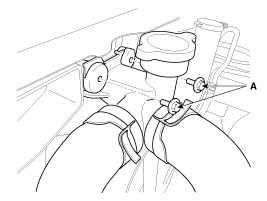
Loosen the filler neck assembly mounting bolts (A).
Tightening torque :
6.9 ~ 10.8 N.m (0.7 ~ 1.1 kgf.m, 5.1 ~ 8.0 lb-ft)
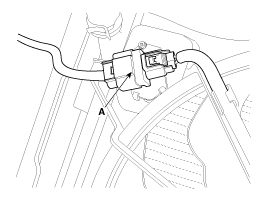
Disconnect the fan motor connector (A).
Loosen the variable Intake solenoid (VIS) actuator mounting bolts (A).
Tightening torque :
9.8 ~ 11.8 N.m (1.0 ~ 1.2 kgf.m, 7.2 ~ 8.7 lb-ft)
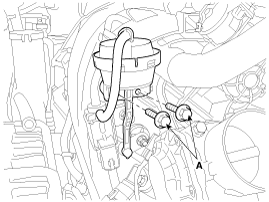
Detach the variable intake solenoid (VIS) valve & bracket after unfastening the mounting bolt (A).
Tightening torque :
9.8 ~ 11.8 N.m (1.0 ~ 1.2 kgf.m, 7.2 ~ 8.7 lb-ft)
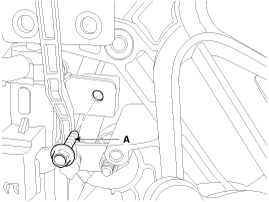
Disconnect the crankshaft position sensor (CKPS) connector (A) and the front connector (B).
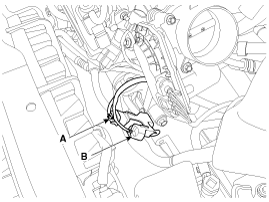
Remove the cooling fan (A).
Tightening torque:
4.9 ~ 7.8 N.m (0.5 ~ 0.8 kgf.m, 3.6 ~ 5.8 lb-ft)
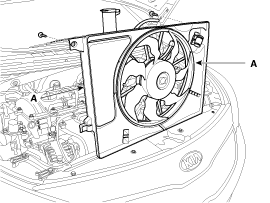
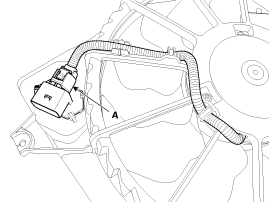
Disconnect the wire harness connector (A) and the fan motor connector (B).
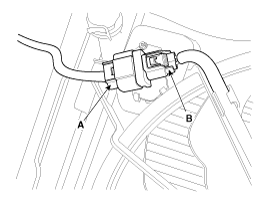
Remove the resistor (A) from the cooling fan shroud.
Tightening torque :
1.8 ~ 2.5 N.m (0.18 ~ 0.25 kgf.m, 1.3 ~ 1.8 lb-ft)
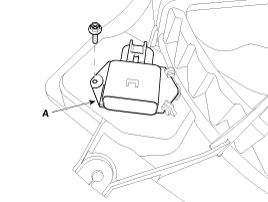
Install in the reverse order of removal.
Remove the cooling fan (A) from the cooling fan assembly.
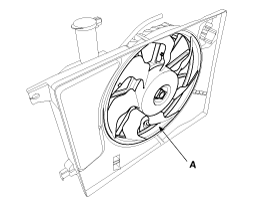
Disconnect the fan motor connector (A) from the resistor.
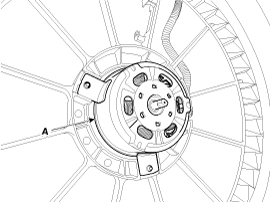
Loosen the screws and then remove the fan motor (A) from the cooling fan shroud.
Tightening torque:
3.9 ~ 5.9 N.m (0.4 ~ 0.6 kgf.m, 2.9 ~ 4.3 lb-ft)
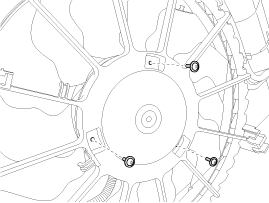
Assemble in the reverse order of disassembly.
Disconnect the fan motor connector from the resistor.
Connect the battery voltage to the "+" terminal and ground to "-" terminal.
Check the cooling fan motor operates well.