3.
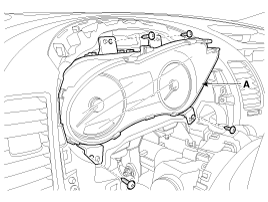
Remove the cluster (A) from the housing after removing 4 screws.
Disconnect the negative (-) battery terminal.
Remove the cluster fascia panel.
(Refer to Body - "Cluster Fascia Panel")
Remove the cluster (A) from the housing after removing 4 screws.
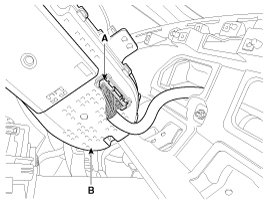
Disconnect the cluster connecter (A) and then remove the cluster (B).
Connect the cluster connector.
Install the cluster assembly.
Install the cluster facia panel.
Connect the negative (-) battery terminal.
Check point (Warning indicator)
NO | Ref Symbol | Color | Name | Signal Input | Signal Control (Unit / Sensor) | Check Point |
1 |  | Green | Turn Left | C-CAN | BCM | 1. CAN line failure |
2 |  | Green | Turn Right | C-CAN | ||
3 |  | Green | Front Fog | C-CAN | BCM | 1. CAN line failure |
4 |  | Yellow | Rear Fog | C-CAN | BCM | 1. CAN line failure |
5 |  | Blue | High Beam | C-CAN | BCM | 1. CAN line failure |
6 |  | Green | Low Beam | Hardwire | BCM | 1. Wiring failure |
7 |  | Green | Hardwire | C-CAN | BCM | 1. Wiring failure |
8 |  | Green | Cruise | C-CAN | EMS | 1. CAN line failure |
9 |  | Green | SET | C-CAN | EMS | 1. CAN line failure |
10 | 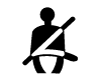 | Red | Seat Belt | C-CAN | BCM | 1. CAN line failure |
11 |  | Red | Air Bag | C-CAN | ACU | 1. CAN line failure |
12 | 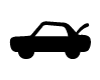 | Yellow | Trunk Open | C-CAN | BCM | 1. CAN line failure |
13 |  | Red | Door Open | C-CAN | BCM | 1. CAN line failure |
14 | 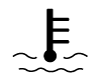 | Red | High Temperature | C-CAN | EMS | 1. CAN line failure |
15 |  | Yellow | Immobilizer | Hardwire | SMK | 1. Wiring failure |
16 | 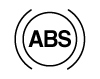 | Yellow | ABS | C-CAN | ESC | 1. CAN line failure |
17 | 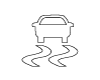 | Yellow | ESC | C-CAN | ESC | 1. CAN line failure |
18 | 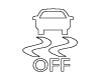 | Yellow | ESC OFF | C-CAN | ESC | 1. CAN line failure |
19 | 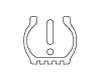 | Yellow | TPMS (Tread & Fail) | C-CAN | TPMS | 1. CAN line failure |
20 | 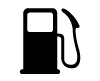 | Yellow | Fuel Low | Low fuel resistance | Fuel Sender | 1. Fuel sender failure 2. Wiring failure |
21 | 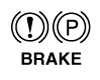 | Red | Parking Brake | C-CAN | BCM & ABS or ESC | 1. CAN line failure |
22 | 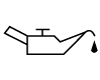 | Yellow | Oil Pressure | Hardwire | Oil Pressure Sensor | 1. Wiring failure |
23 | 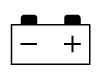 | Red | Battery Charge | Hardwire | Battery Sensor | 1. Wiring failure |
24 | 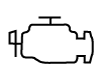 | Yellow | Check Engine | C-CAN | EMS | 1. CAN line failure |
25 |  | Yellow | Low Washer | Hardwire | Water Level Sensor | 1. Wiring failure |
26 |  | Green | Active ECO | Hardwire | ECO ON/OFF Switch | 1. Switch failure 2. Wiring failure |
Passive ECO | C-CAN | |||||
27 |  | Red | EPS | C-CAN | EPS Unit | 1. EPS unit failure 2. CAN line failure |
Check point (Gauge)
No. | Name | Signal Input | Signal Control (Unit/Sensor) | Check Point |
1 | Speedometer | C-CAN | ABS, ESC | 1. CAN Line failure |
2 | Tachometer | C-CAN | EMS | 1. CAN Line failure |
3 | Cooling water temperature | C-CAN | EMS | 1. CAN Line failure |
4 | Fuel | Hardwire | Fuel sender | 1. Fuel sender failure 2. Wiring failure |
Connector terminal check list
No. | Description | Input/Output | Communication | Check Point | |
Spec | Condition | ||||
A1 | Alternator L output | Output | Hardwire | - | IGN switch ON |
A2 | DC 12V input | Input | Hardwire | - | IGN switch ON |
A3 | Aig Bag (+) | Input | Hardwire | 9 ~ 16 V | IGN switch ON |
A4 | Rheostat up switch | Input | Hardwire | Below 2V | IGN switch ON |
Rheostat up switch ON | |||||
A5 | Rheostat down switch | Input | Hardwire | Below 2V | IGN switch ON |
Rheostat down switch ON | |||||
A6 | Oil pressure indicator | Input | Hardwire | Below 1.5V | IGN switch ON |
Oil pressure switch ON | |||||
A7 | Active ECO | Input | Hardwire | Below 1.5V | IGN switch ON |
A8 | Battery Charge | Input | Hardwire | Below 1.5V | IGN switch ON |
Charge switch ON | |||||
A9 | Low washer | Input | Hardwire | - | IGN switch ON |
A10 | Immobilizer indicator | Input | Hardwire/CAN | Below 1.5V | IGN switch ON |
A11 | Steering wheel | input | Hardwire | - | IGN switch ON |
A12 | Trip switch 1 | Input | Hardwire | 0.7 ~ 4.4 V | IGN switch ON |
A13 | Trip switch (-) | Ground | Hardwire | Below 1V | Switch ground input |
A14 | AT S output | Output | Hardwire | 7 ~ 15 V | IGN switch ON |
A15 | AT R position output | Output | Hardwire | 7 ~ 15 V | IGN switch ON |
A16 | AT D position output | Output | Hardwire | 7 ~ 15 V | IGN switch ON |
A17 | AT N position output | Output | Hardwire | 7 ~ 15 V | IGN switch ON |
A18 | AT P position output | Output | Hardwire | 7 ~ 15 V | IGN switch ON |
A19 | Detent output | Output | Hardwire | 9 ~ 16 V | IGN switch ON |
Rheostat MAX | |||||
A20 | 4P output | Output | Hardwire | 9 ~ 16 V | IGN switch ON |
Vehicle speed 1㎞/h excess | |||||
A21 | Battery (+) | Input | Hardwire | 9 ~ 16 V | Always |
A22 | Ignition (+) | Input | Hardwire | 9 ~ 16 V | IGN switch ON |
A23 | Illumination (+) | Input | Hardwire | Above 6 V | IGN switch ON |
Illumination (+) switch ON | |||||
A24 | - |
|
|
|
|
A25 | Signal ground 1 | Ground | Hardwire | Below 1V | Switch ground input |
A26 | - |
|
|
|
|
A27 | MM CAN High | Input/ Ouptut | CAN | - | - |
A28 | MM CAN Low | Input/ Ouptut | CAN | - | - |
A29 | - |
|
|
|
|
A30 | C CAN High | Input/ Ouptut | CAN | - | - |
A31 | C CAN Low | Input/ Ouptut | CAN | - | - |
A32 | - |
|
|
|
|
A33 | Signal ground 2 | Ground | Hardwire | Below 1V | Switch ground input |
A34 | Fuel (-) | Ground | Hardwire | Below 1V | Always |
A35 | Fuel (+) | Input | Hardwire | Below 1.1 V | IGN switch ON |
Fuel Full | |||||
Above 10.7V | IGN switch ON | ||||
Fuel Empty | |||||
A36 | 5V output | Output | - | - | - |
A37 | Trip switch 2 | Input | Hardwire | 0.7 ~ 4.4 V | IGN switch ON |
A38 | Speed | Input | CAN | 9 ~ 16 V | IGN switch ON |
A39 | Ice warning | Input | - | - | - |
A40 | Illumination output | Output | Hardwire | 9 ~ 16 V | IGN switch ON |
Illumination (+) switch ON | |||||
Communication information
Transmision Unit | Receive Unit | CAN communication | Reference |
Cluster | BCM | C-CAN | Refuel detecede state |
Instant fuel consumption information | |||
Low fuel warning information | |||
Vehicle setting condition | |||
Illumination setting | |||
Cluster | EMS | C-CAN MM-CAN | SPORT/ECO Mode |
TCU | |||
ECS | |||
ESP | |||
AVN | |||
Cluster | ACU | C-CAN | Airbag state |
ACU | Cluster | CAN | Airbag warning indicator control |
BCM | Cluster | CAN | Hood indicator display |
DATC | Cluster | CAN | External temperature display |
ECS | Cluster | CAN | Warning control |
EMS | Cluster | CAN | Tachometer control |
Temperature guage control | |||
Check engine symbol, CRUISE and SET indicator control | |||
ESC | Cluster | CAN | - |
BCM | Cluster | CAN | Vehicle setting control |
Warnig indicator and warning sound, PAS control어 | |||
SMK | Cluster | CAN | Smart key indicator display |
TCS | Cluster | CAN | ESC OFF switch condition display |
Warning indicator display | |||
TCU | Cluster | CAN | AT gear information display |
Speed input | |||
TPMS | Cluster | CAN | TPMS indicator |
The other information about the cluster
USM (User Setting Mode)
USM is set using the steering wheel remote control button.
IMS seat, IMS steering, auto door lock/unlock, head lamp escort, welcome light, welcome sound and triple turn signal lamp are controled.
USM setting procedure
Send the USM value to the BCM
BCM send the setting value to the each module through CAN.
Each modules send the setting complete value to BCM.
BCM send the final setting value to cluster through CAN.
It will be able to diagnose defects of CLU with GDS quickly. GDS can operates actuator forcefully, input/output value monitoring and self diagnosis.
Select model and "BCM".
Select the "Cluster Moduel" to check.
Select "Input/output monitoring", if you will check current data of instrument cluster.
If you will check each module data operation forcefully, select "Actuation test".
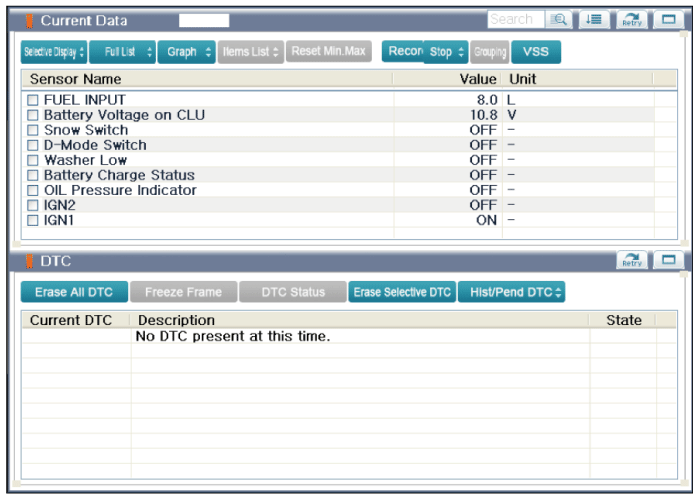
To check the DTC of the each module, select "DIAGNOSTIC TROUBLE CODES".
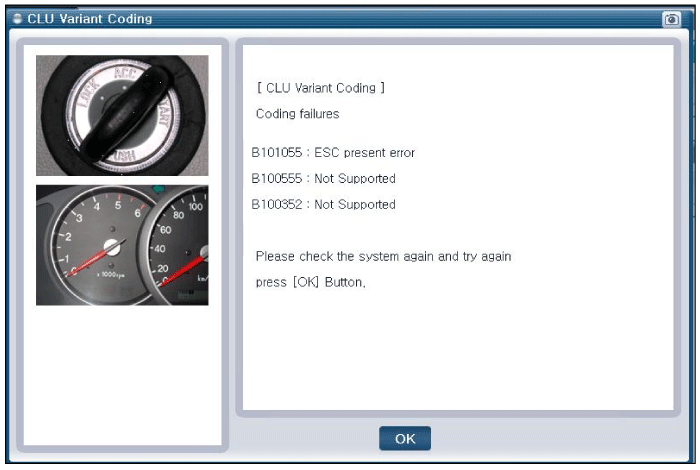
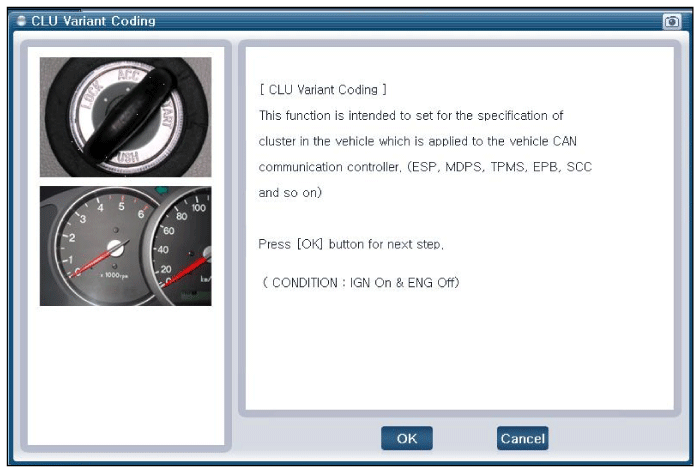
After replacing the cluster with a new one, must be performed the “Variant Coding” procedure.
Connect the cable of GDS to the data link connector in driver side crash pad lower panel, turn the power on GDS.
Select model and "BCM".
Select Variant coding mode to perform.
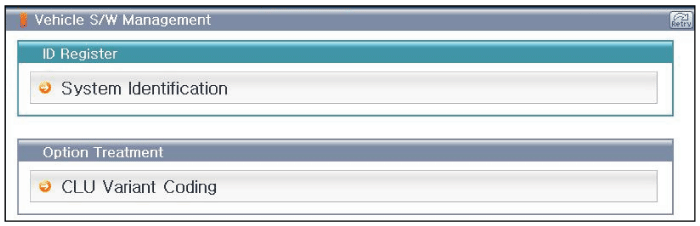
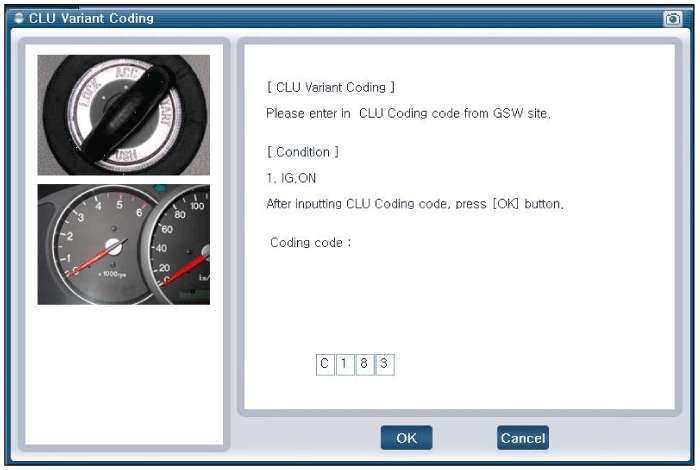
If the trouble codes occurred when performing variant coding, try the CLU variant coding again after checking the installation status of CLU system.