To remove the front pillar, drill out and grind away all spotwelds and MIG plug welds attaching the cowl side upper outer member.
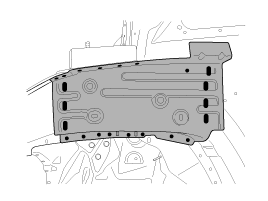
Before cutting the front pillar, be sure to support the roof panel.
To remove the front pillar, drill out and grind away all spotwelds and MIG plug welds attaching the cowl side upper outer member.

Remove the cowl side upper outer member.
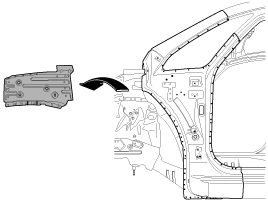
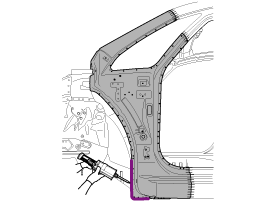
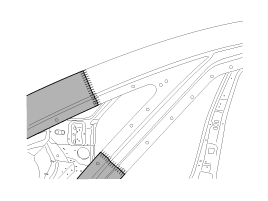
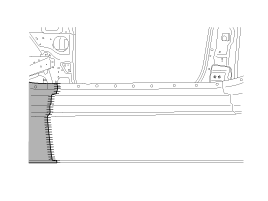
Measure and mark the cutlines on the front pillar outer panel. Cut the front pillar outer panel along the cutlines.
When cutting the front pillar outer panel, take care not to cut through the mating flanges or the front pillar outer reinforcement and side sill outer reinforcement.
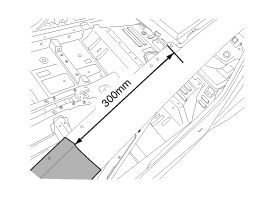
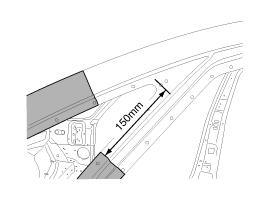
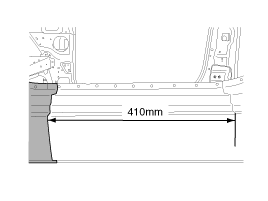
Drill out and grind away all spotwelds and MIG lap weld attaching the front pillar outer panel.
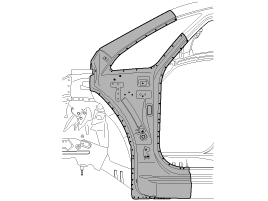
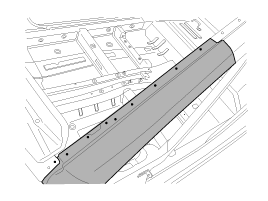
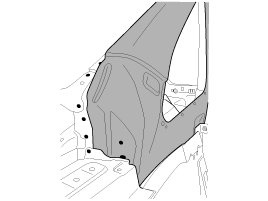
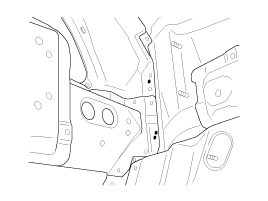
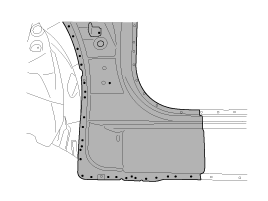
Remove the front pillar outer panel.
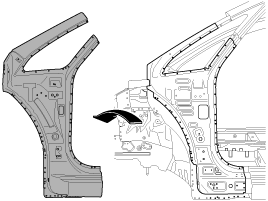
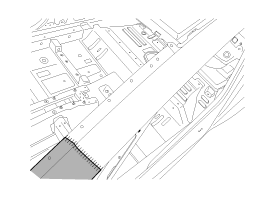
Measure and mark the cutlines on the front pillar outer reinforcement. Cut the front pillar outer reinforcement along the cutlines.
When cutting the front pillar outer reinforcement, take care not to cut through the mating flanges or the front pillar inner panel.
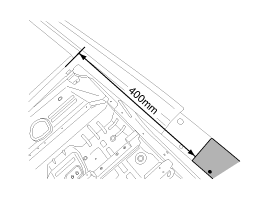
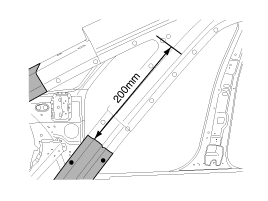
Drill out all spotwelds attaching the front pillar outer reinforcement.
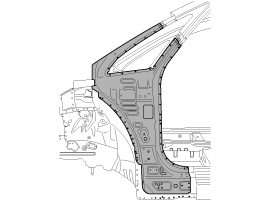
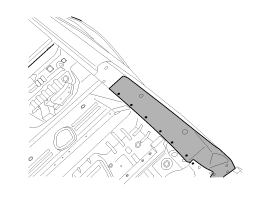
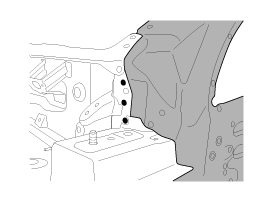
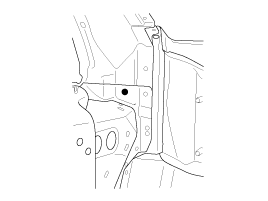
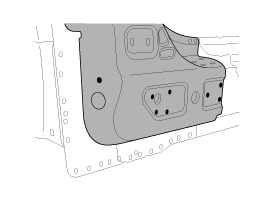
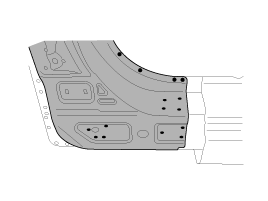
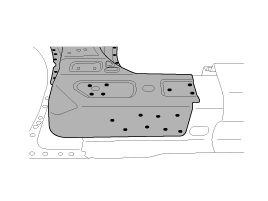
Remove the front pillar outer reinforcement.
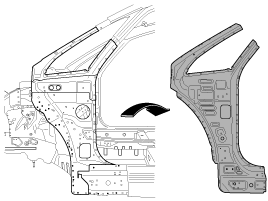
Measure and mark the cutlines on the front pillar inner panel. Cut the front pillar inner panel along the cutlines.
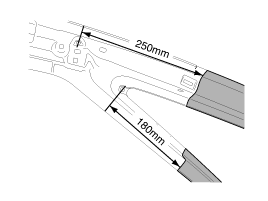
Drill out and grind away all spotwelds and MIG lap welds attaching the front pillar inner panel.
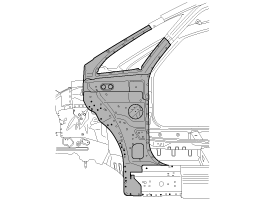
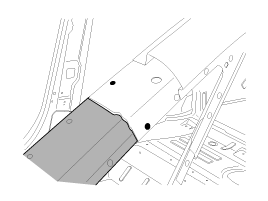
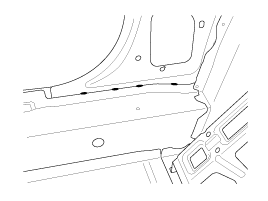
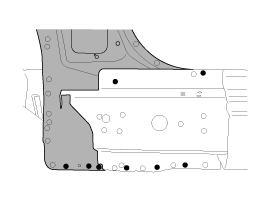
Remove the front pillar inner panel.
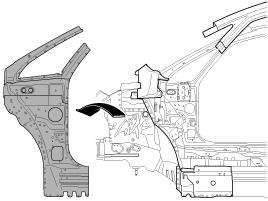
Straighten all flanges as necessary, prepare all surfaces to be welded.
Clean and prepare all welds, and remove all residues.
After removing, apply the welding primer.
Measure and mark the cutlines on the new front pillar inner panel. Cut the new front pillar inner panel along the cutlines.
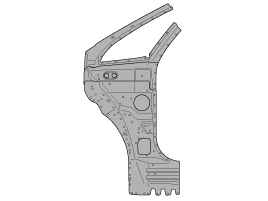
Drill 8mm holes along the new front pillar inner panel flanges for MIG plug welding.
Fit and clamp the new front pillar inner panel in place for welding.
Measure each measurement point (Refer to the BODY DIMENSIONS) and correct the installation position.
Spot weld and MIG plug weld all holes, MIG butt weld and MIG lap weld the seams.
If spot welding is imposible, MIG plug weld all holes.
Apply epoxy adhesive to the weld points of new panel or body panel.
Be sure to use the recommended epoxy adhesive below.
Epoxy adhesive : 3M(PN8115), Henkel (Terokal 5055) or equivalent.
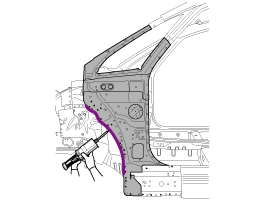
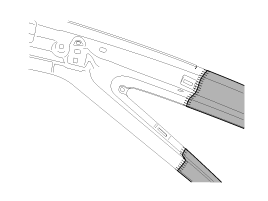


Clean and prepare all welds, and remove all residues.
After removing, apply the welding primer.
Measure and mark the cutlines on the new front pillar outer reinforcement. Cut the new front pillar outer reinforcement along the cutlines.
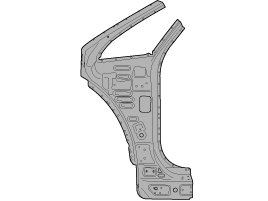
Drill 8mm holes along the new front pillar outer reinforcement flanges for MIG plug welding.
Fit and clamp the new front pillar outer reinforcement in place.
Measure each measurement point and correct the installation position.
Spot weld and MIG plug weld all holes, MIG butt weld the seams.
If spot welding is imposible, MIG plug weld all holes.
Apply epoxy adhesive to the weld points of new panel or body panel.
Be sure to use the recommended epoxy adhesive below.
Epoxy adhesive : 3M(PN8115), Henkel (Terokal 5055) or equivalent.
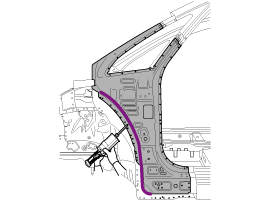
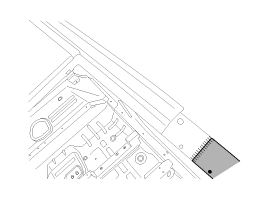
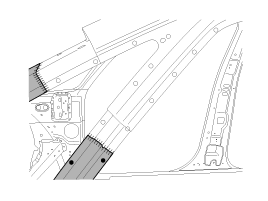
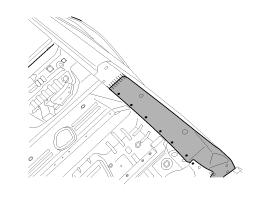


Clean and prepare all welds, and remove all residues.
After removing, apply the welding primer.
Measure and mark the cutlines on the new front pillar outer panel. Cut the new front pillar outer panel along the cutlines.
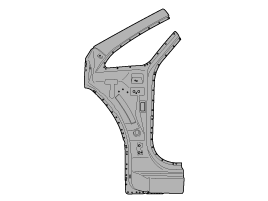
Drill 8mm holes along the new front pillar outer panel flanges for MIG plug welding.
Fit and clamp the new front pillar outer panel in place.
If necessary, make temporary welds, and then check to confirm that the closing and fit for windshield glass, door and fender are correct.
Spot weld and MIG plug weld all holes, MIG butt weld and MIG lap weld the seams.
If spot welding is imposible, MIG plug weld all holes.
Apply epoxy adhesive to the weld points of new panel or body panel.
Be sure to use the recommended epoxy adhesive below.
Epoxy adhesive : 3M(PN8115), Henkel (Terokal 5055) or equivalent.
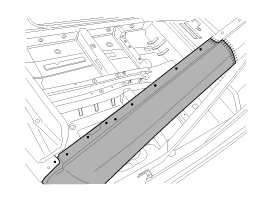


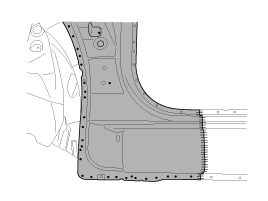
Clean and prepare all welds, and remove all residues.
After removing, apply the welding primer.
Before welding the cowl side upper outer member, apply the epoxy primer and anti-corrosion agent to the interior of the fender apron panel.
Drill 8mm holes along the new cowl side upper outer member flanges for MIG plug welding.
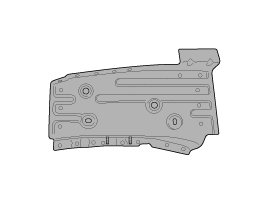
Install the new cowl side upper outer member in place.
Measure each measurement point and correct the installation position.
MIG plug weld all holes.

Clean and prepare all welds, and remove all residues.
Apply body filler to joints and sand as needed.
Apply an anti-corrosion agent to the welded parts and the inside of front pillar (Refer to the CORROSION PROTECTION).
Prepare exterior surfaces for priming, using wax and grease remover.
Apply metal conditioner and water rinse.
Apply conversion coating and water rinse.
Apply the correct seam sealer to all joints carefully(Refer to the BODY SEALING LOCATIONS).
Reprime over the seam sealer to complete the repair.